Before we start
If you use security software to protect your Mac against malware, you might have experienced some issues after upgrading to macOS 14 Sonoma. These issues are likely a result of a bug affecting macOS Mojave, Catalina, Big Sur, Monterey, and Ventura, that causes apps to lose Full Disk Access permission. In this post, we’ll explain what Full Disk Access is and how to enable it. 
Why do apps need Full Disk Access?
Full Disk Access is a security feature introduced in macOS Mojave that allows apps to access all files on your computer. Security apps like Antivirus One need Full Disk Access to protect your files and application data. Without this permission, important security features may not work.
When should you grant an app Full Disk Access?
If the app is reputable and you trust the developer.
Productivity apps like daily schedulers may need this permission to access your Calendar, Mail or Reminders. But if a gaming app requests this permission, you should look carefully at the app’s privacy policy to understand what data is being collected and what the developers may do with your data.
If there is a reasonable explanation for why the app needs this permission.
Security apps like Antivirus One will let you know why they need access to your secure files, for example they may need permission to scan for potentially malicious files or back up your personal files. If you are not sure why an app needs a certain permission, you can contact the developer to ask for more information.
How to Enable Full Disk Access
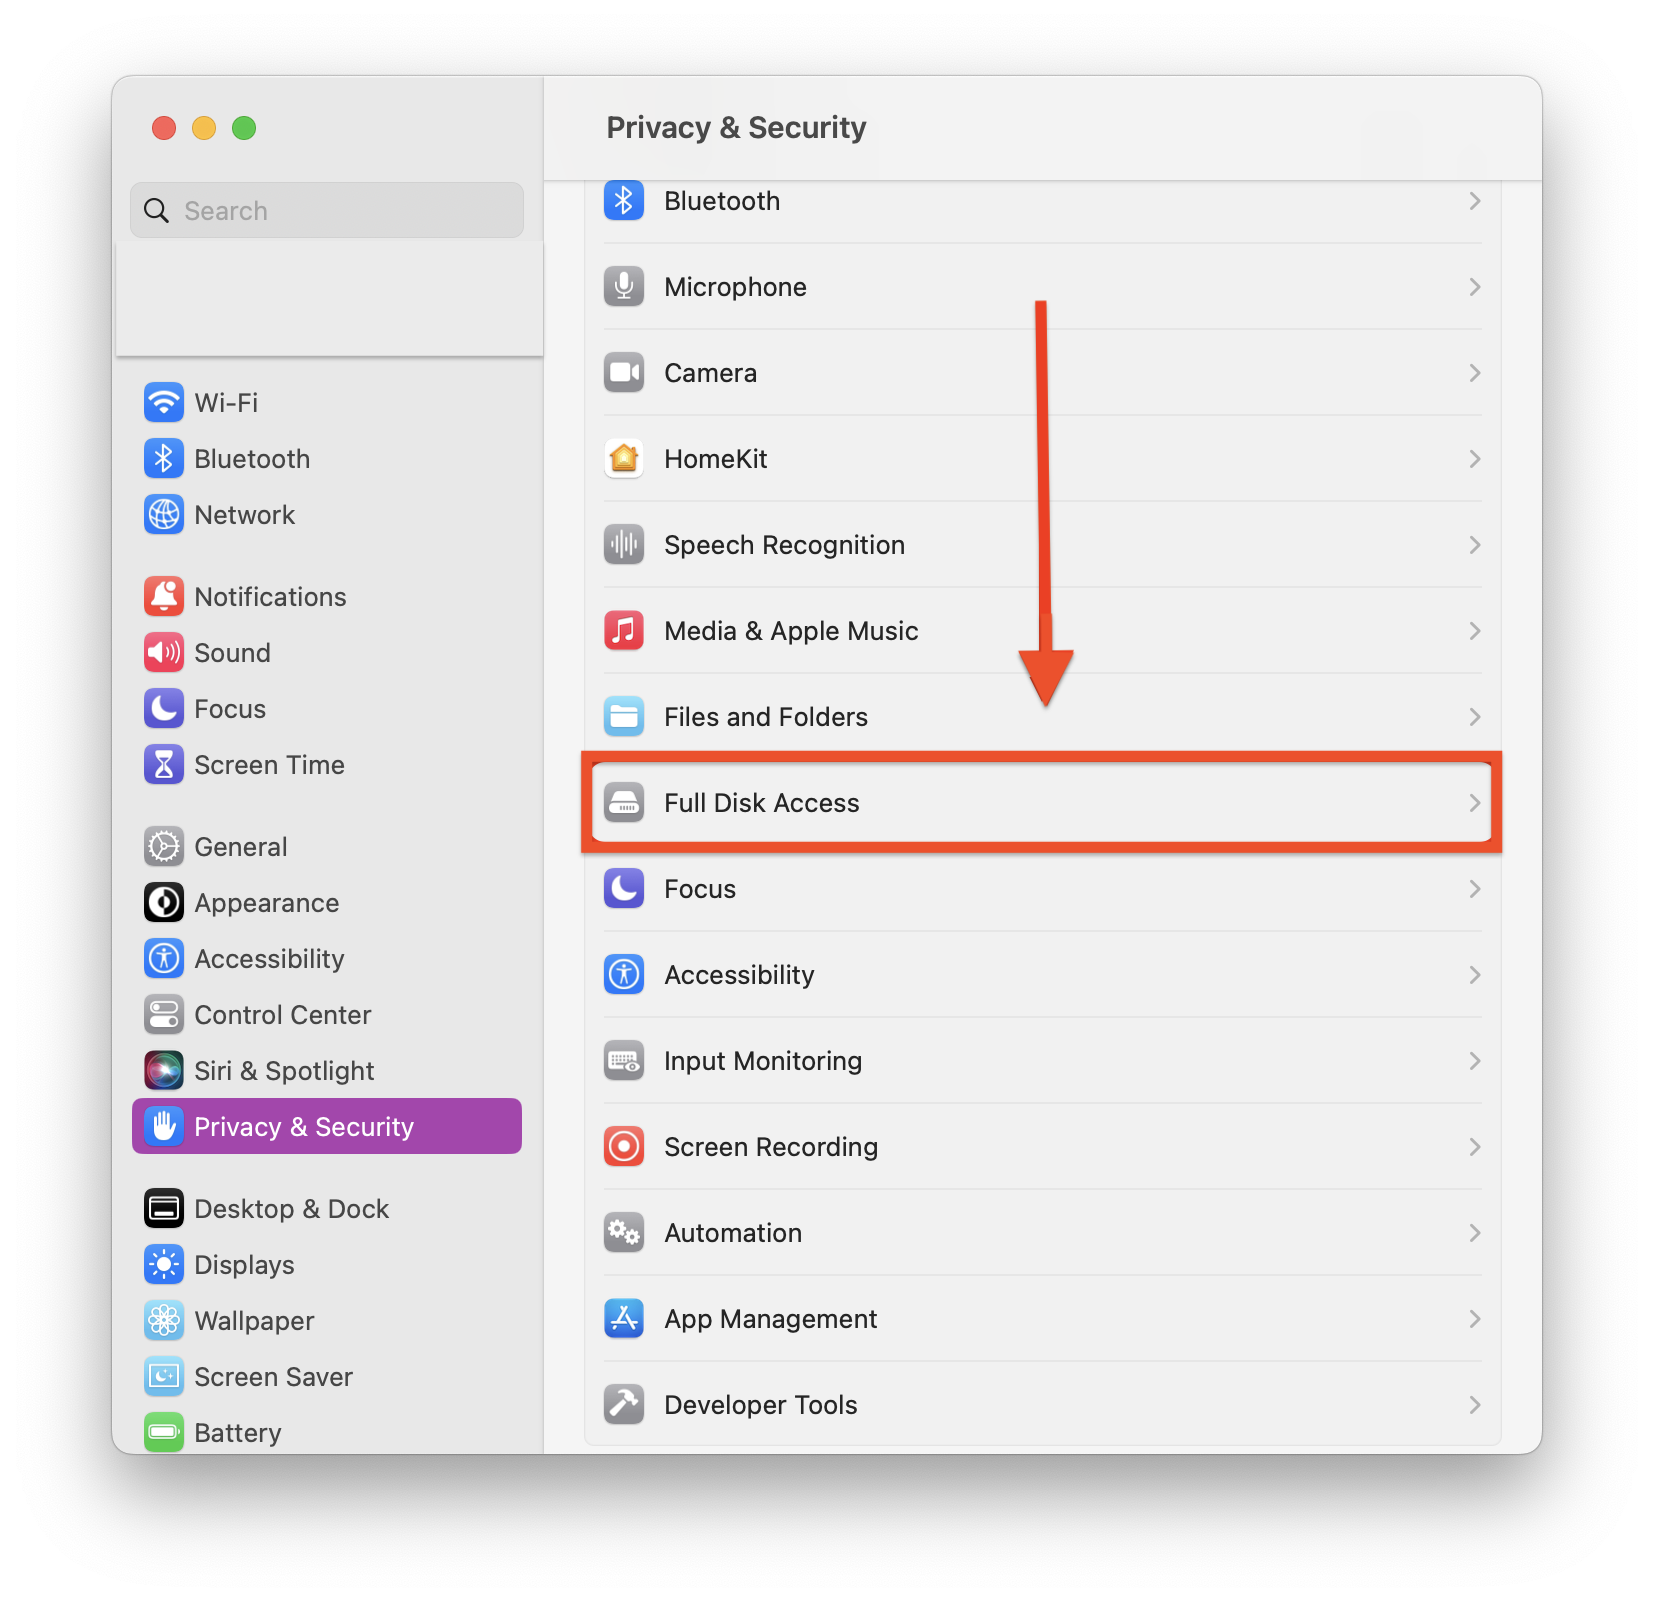
On macOS Ventura:
- Open System Settings > Privacy & Security > Full Disk Access.
- Click on the plus (+) icon and choose the application from the Applications folder.
- Click Quit & Reopen if asked. Your application should now appear in the list as checked.
- Reopen your app.
That’s it! Now you know how to grant Full Disk Access to any app.
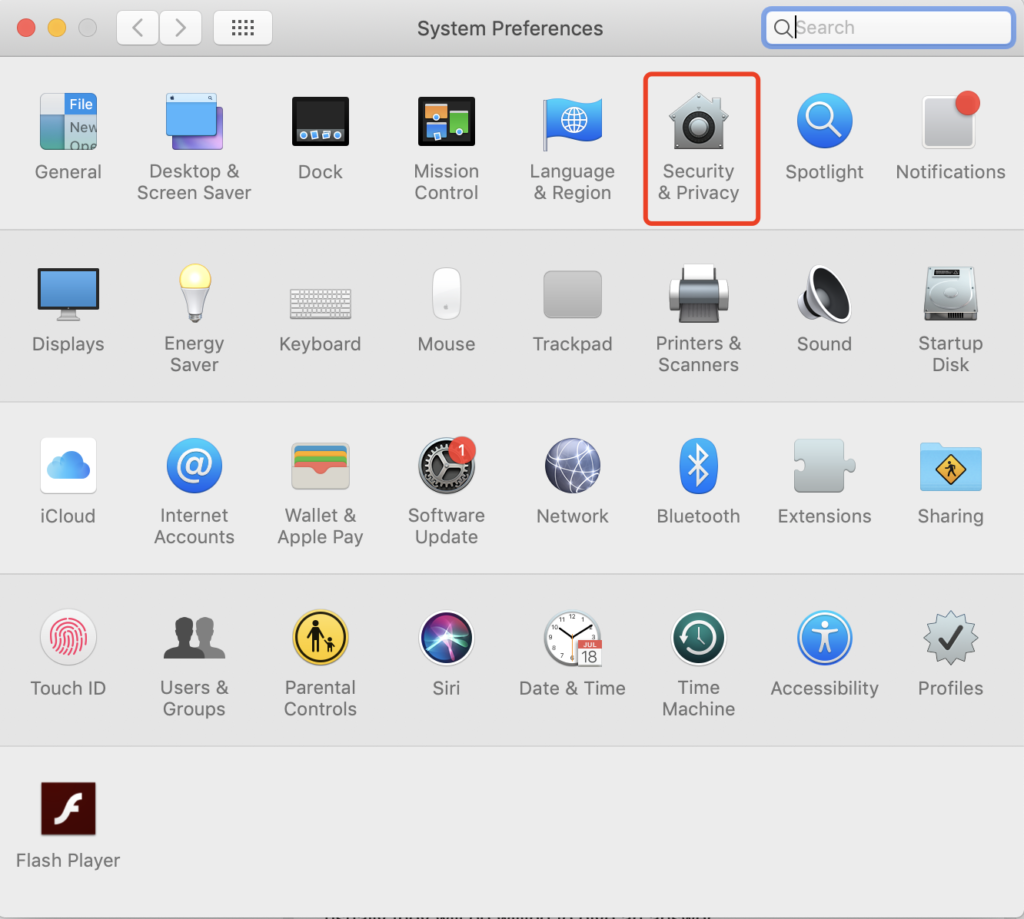
On macOS Mojave, Catalina, Big Sur, and Monterey:
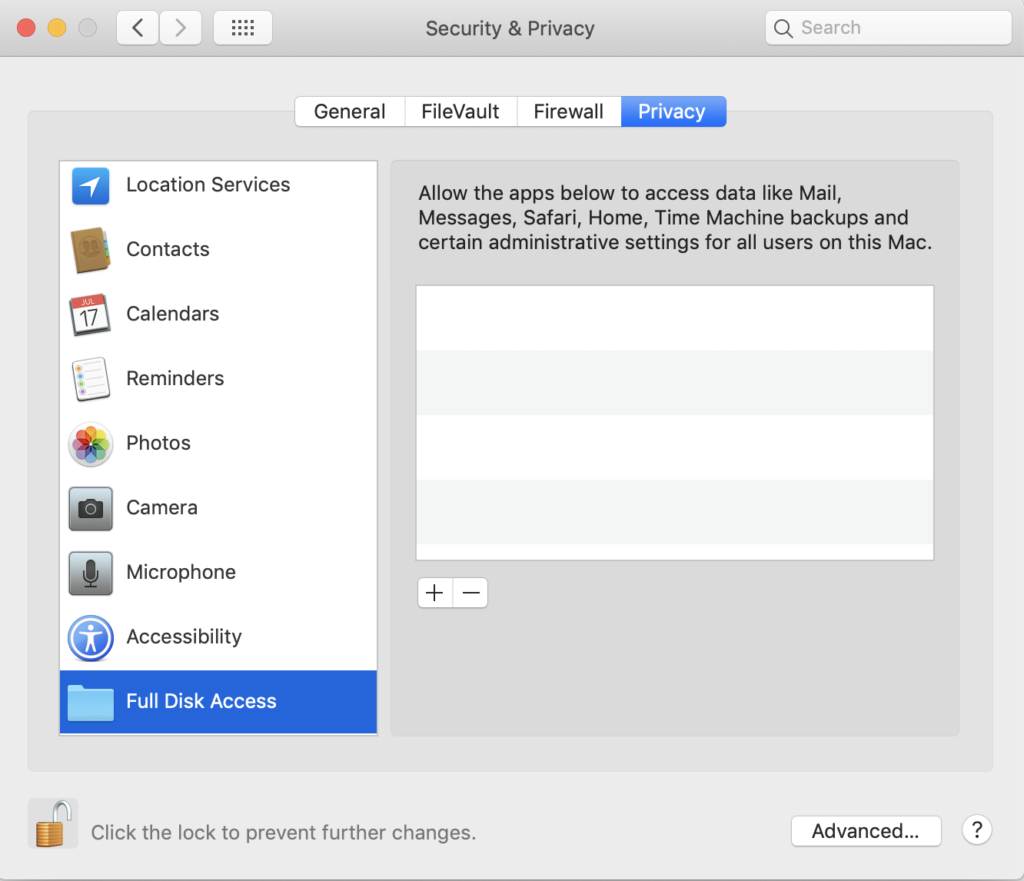
- Click the Apple logo > System Preferences > Security & Privacy.
- Click the Privacy tab.
- In the left pane, scroll down and then click Full Disk Access.
- Click the lock icon so you can make changes on your Mac. A new window will appear.
- Enter your Mac username and password, then click “Unlock” to authorize changes.
- Click the plus (+) icon and choose an application from the window that appears.
What does “Full Permission” mean?
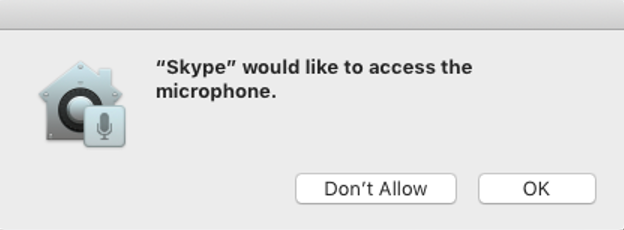
Whenever an app wants access to your information, like your photos, mail messages, or other controls on your desktop, you’ll see a prompt asking for permission.
Permission is usually granted for an individual action, like allowing an app to access your microphone. However, Full Disk Access gives apps full permission to access all files on your computer, including data from other apps.
If you don’t want an app to read your information or keep sending notifications, you can always revoke the permission.
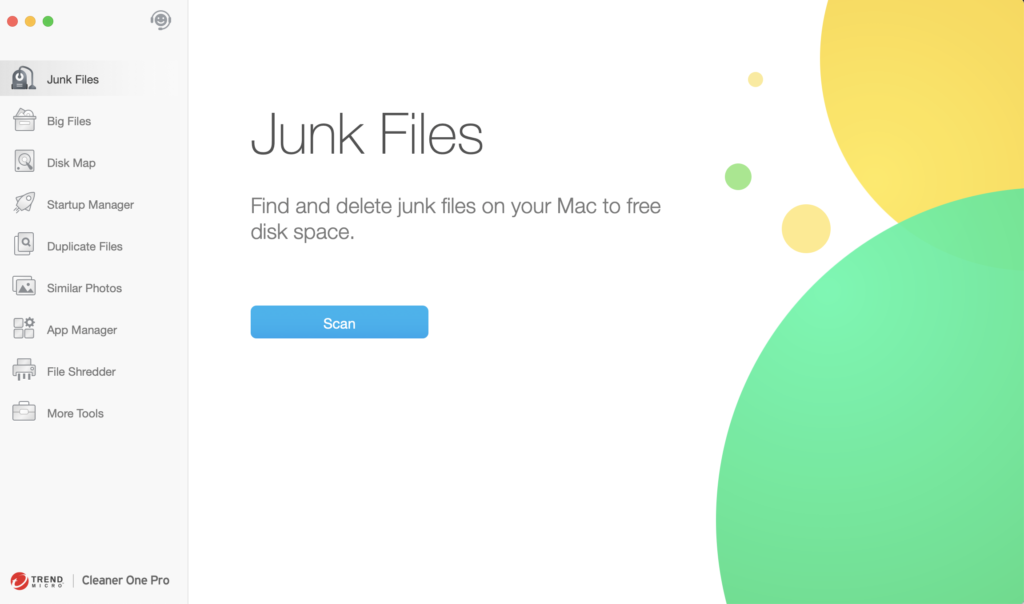
After the initial release of macOS Mojave, many users encountered issues when granting microphone or camera access, leading to crashes. If you want to prevent apps from constantly crashing, download Cleaner One Pro for free and use Smart Scan to optimize your Mac’s performance.
To get Cleaner One Pro:
- Download Cleaner One Pro for free
- Click “System Optimizer”
- Click “Scan” in left folder of the pop-up window
This should reduce the possibility of your apps crashing.
In conclusion, despite initial software conflicts caused by the introduction of Full Disk Access, it is an important security feature that gives you more control over your data. Embrace these changes, and rest assured that your data is better protected than ever before.




Apⲣreϲiate the recommendation. Let me try it out.
Thank you for sharing this. Works well on my big sur.
If you are accessing macOS machines through SSH (terminal) then you should give full disk access to ssd-keygen-wrapper and Terminal as well along with cron.