In June, at WWDC 2024, Apple introduced macOS 15 Sequoia, bringing many surprises to users such as Apple Intelligence. Although the final version has not been officially released, some curious users are eager to experience the latest version of the system. However, during the process of downloading updates and installing the new version of macOS, various problems may occur, such as unable to download the update package, unable to install the update, the system becoming slower after the update, and certain system functions not working. How can one smoothly update, and how to ensure that related issues can be smoothly resolved after the update? We will explain in detail and provide solutions.
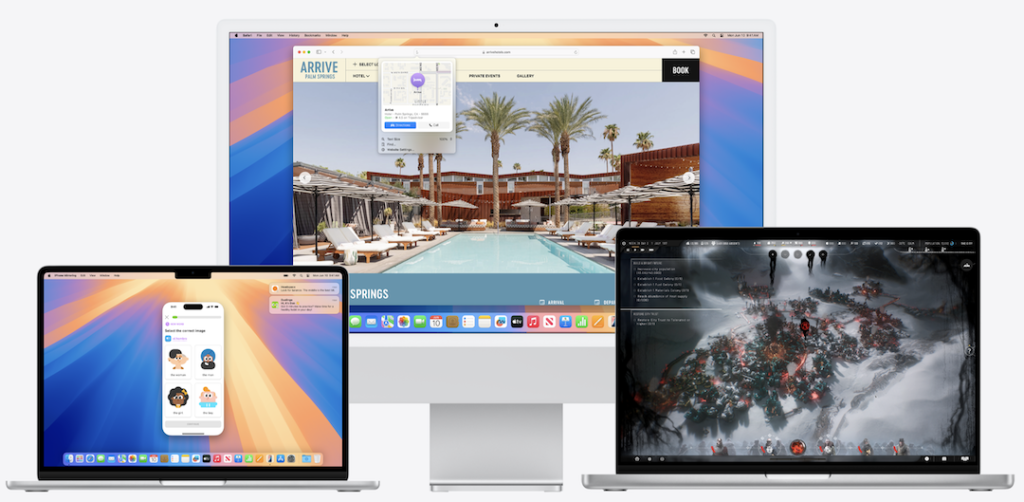
How to Upgrade to macOS 15 (Sequoia)
Preparation:
Check Compatibility
- Visit the Apple website to confirm that your Mac model supports macOS 15
- macOS Sequoia supports the following Mac models:
- iMac 2019 and later models
- iMac Pro 2017 and later models
- Mac Studio 2022 models
- MacBook Air 2020 and later models
- Mac mini 2018 and later models
- MacBook Pro 2018 and later models
- Mac Pro 2019 and later models
Back up the System
- Use Time Machine to perform a full backup, searchable via Spotlight
- Consider creating a bootable external backup
Free up Disk Space
- Ensure you have at least 20GB of available space
- Use Disk Utility or third-party applications like Cleaner One Pro to clean up junk files on the disk
Upgrade Steps:
Download the Update
- Apple released the public version of Sequoia on September 26, 2024. You can directly download the update through System Preferences on your compatible device.
- If you don’t see the update, check your device’s compatibility and manually download Sequoia here:https://apps.apple.com/us/story/id1759469825
——————————————————-
- Currently, macOS Sequoia is only available in public beta. You can manually download the beta build from Apple’s beta website.Note: you need an Apple account for the download.
- Open “System Preferences” > “General” > “Software Update“
- If available, click “Upgrade to macOS 15”
- The download process may take some time, depending on your network speed.
Install the Update
- Once the download is complete, click “Install Now”
- Enter the administrator password
- Your Mac will restart and begin the installation process
- The installation may take 30 minutes to an hour.
Complete the Setup
- After the installation is complete, follow the on-screen prompts to complete the initial setup
- Sign in with your Apple ID
After the Installation:
- Verify that all important applications are working correctly
- Update applications to versions compatible with macOS 15
- If you encounter any issues, refer to Apple support or consider restoring from a backup
Note: During the upgrade process, please ensure your Mac is connected to a power and maintain a stable network connection.
How to Fix macOS Sequoia Issues
We’ve summarized some of the most common known issues with macOS Sequoia and how to fix them below.
macOS Sequoia Cannot be Installed
This is one of the most common issues with any new macOS version. You should check the following:
- Your Wi-Fi network is working properly and your Mac is successfully connected
- Your internet connection is working and stable
- Apple’s servers are operational (you can check this on Apple’s status page – look for a green dot next to macOS Software Update)
- Your Mac is compatible with Sequoia. Refer to the compatible Mac list mentioned earlier. If your Mac is not on the list, you won’t be able to install macOS Sequoia.
Mac Slows Down After Updating to macOS Sequoia
It’s common for a Mac to become a little slower after a macOS update, especially if it’s an older model within the compatible range. However, the speed should not be noticeably slower for most day-to-day tasks. If it does become slow, you should take steps to address it.
One of the best ways to fix a slow-running Mac (whether or not it’s after updating to macOS Sequoia) is to maintain it. In fact, regular maintenance is a necessary step. This includes running macOS maintenance scripts, freeing up RAM, rebuilding the Spotlight index, and refreshing the DNS cache.
Wi-Fi or Bluetooth Not Working
It’s rare for installing a new macOS version to cause Wi-Fi or Bluetooth to stop working. But if that happens, you can try the following:
- Turn off and then back on the Wi-Fi or Bluetooth. If there’s an icon in the menu bar, you can do this there, or in Control Center.
- If possible, try connecting to a different Wi-Fi network. If that works, go to System Preferences > Wi-Fi, click the three dots next to the network name, and select “Forget this Network”. Then reconnect from scratch.
- If the issue is with Bluetooth, you can do the same thing in the Bluetooth settings. Go to System Preferences > Bluetooth, find the device you can’t connect to, click the “Connect” button. If it still doesn’t work, click the “i” and select “Forget this Device”, then pair the device from scratch.
Apps Crashing in macOS Sequoia
If you encounter app crashes after installing macOS Sequoia, the first thing you should check is if the app has been updated. Most developers will update their apps in the summer after WWDC to ensure compatibility and support for new features in the new macOS.
If the app is from the App Store, open the App Store app and go to the “Updates” section. If there’s an update available, install it.
If the app is downloaded from the developer’s website, click the app’s name menu and select “Check for Updates”.
If there are still some problematic apps that cannot be fixed, we recommend uninstalling the related apps to ensure system stability is not affected by compatibility issues. To ensure the apps are completely uninstalled without leaving any residual files, we can consider using Cleaner One Pro for app uninstallation.
Fast Battery Drain in macOS Sequoia
macOS Sequoia places higher demands on the Mac’s CPU and GPU, which means it will also use more power, and if you’re using a MacBook, that means more battery drain. However, there are some things you can do to reduce power consumption:
- Close browser tabs you’re not using.
- Go to System Preferences > General > Login Items and check the login items and background extensions. Disable any you don’t need, then restart your Mac.
- Check your browser extensions and disable any you don’t use.
- In System Preferences > Desktop & Dock, turn off animation effects.
- When using on battery power, enable Low Power Mode in System Preferences > Battery.
Sequoia Won’t Boot
If your Mac won’t boot after upgrading to macOS Sequoia, try the following:
- If it’s a desktop Mac, check that the power cable is connected. If it’s a MacBook, use the power adapter to connect it to power.
- If it’s a desktop Mac, make sure the display is working. Your Mac may be booting, but you’re unaware because the display isn’t showing anything.
- Disconnect all peripheral devices and try again.
- Boot your Mac in Safe Mode. If that works, try a normal restart.
Sequoia Setup Process Fails
If the Sequoia installation was successful but you’re unable to complete the setup process, restart your Mac. It should boot into the setup assistant, and you should be able to complete the setup. If that doesn’t work, you’ll need to erase all content and settings (System Preferences > General > Transfer or Reset). If you can’t access System Preferences, restart and boot into Recovery Mode, then reinstall macOS Sequoia from there.
For most people, upgrading to macOS Sequoia won’t cause any problems and their Mac will run just like before. However, some may encounter issues. If you’re one of them, follow the suggestions above to fix your macOS Sequoia bugs.


