When everyone had access to free unlimited storage on Google Photos, it was a storage-saving dream! However, since the platform reduced its free storage space allowance to just 15GB, for many, it may make more sense to simply store them on your computer. This is because even though saving things in the cloud saves on storage space, viewing them or sharing them with friends is not as convenient — especially if you don’t have the strongest internet connection. So in this post, we show you how to download everything from Google Photos and store it all on your computer!
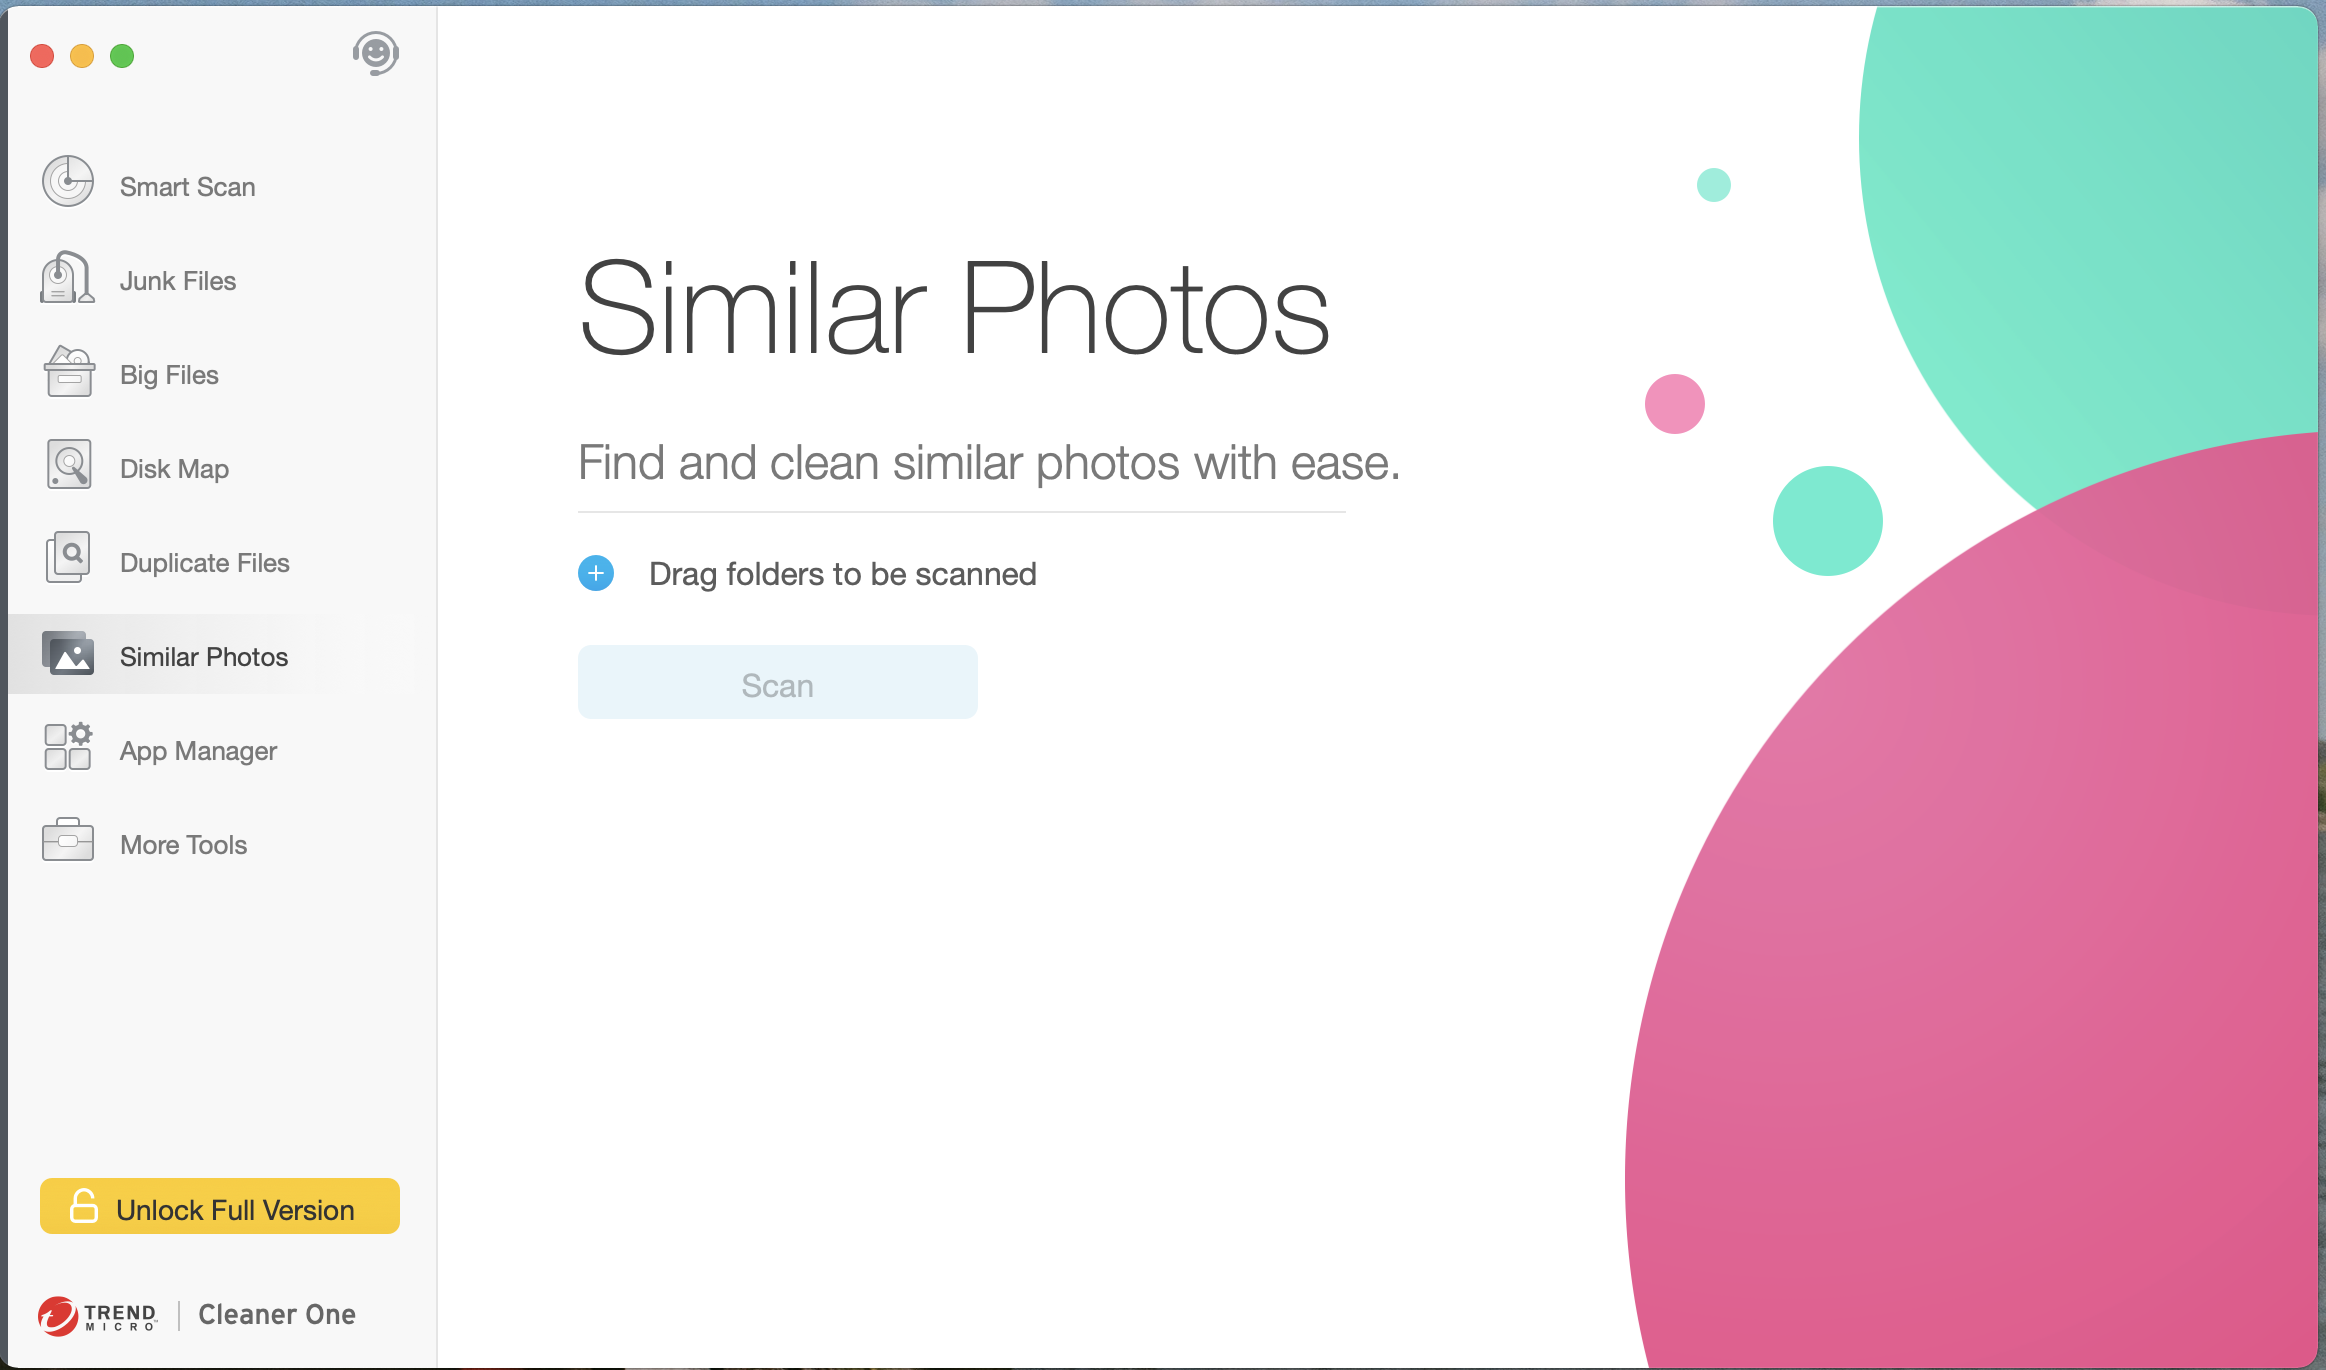
If you’re worried about duplicate photos taking up too much space on your computer, you can use Cleaner One Pro to detect and remove redundant or similar photos.
How to download albums from Google Photos
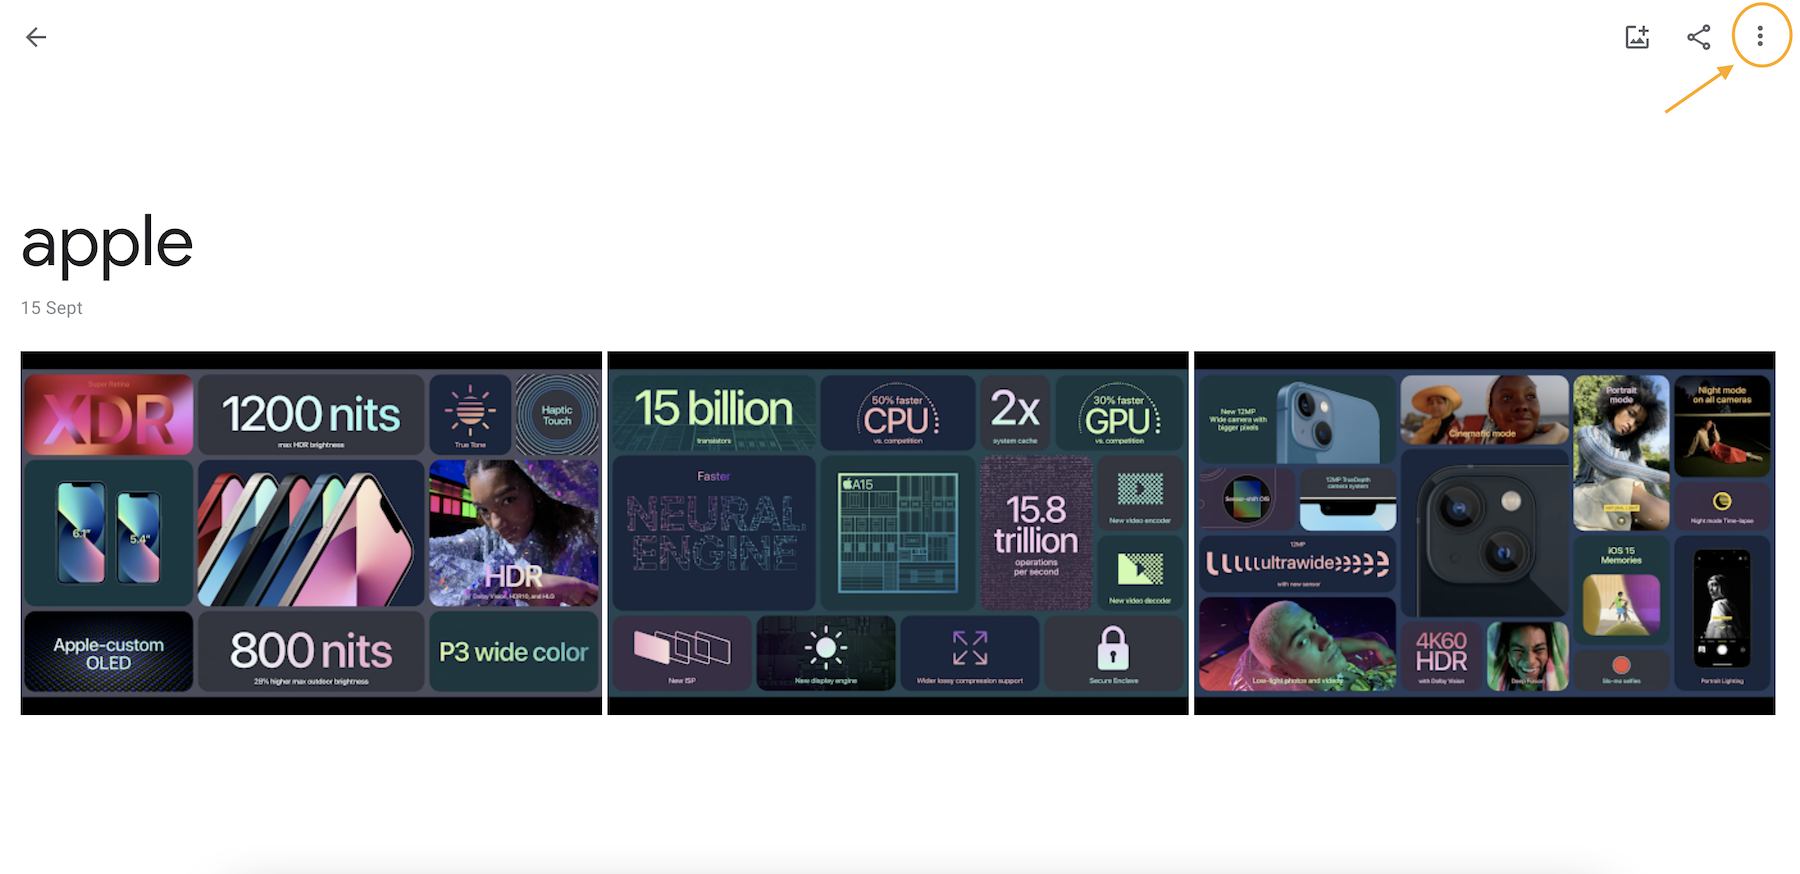
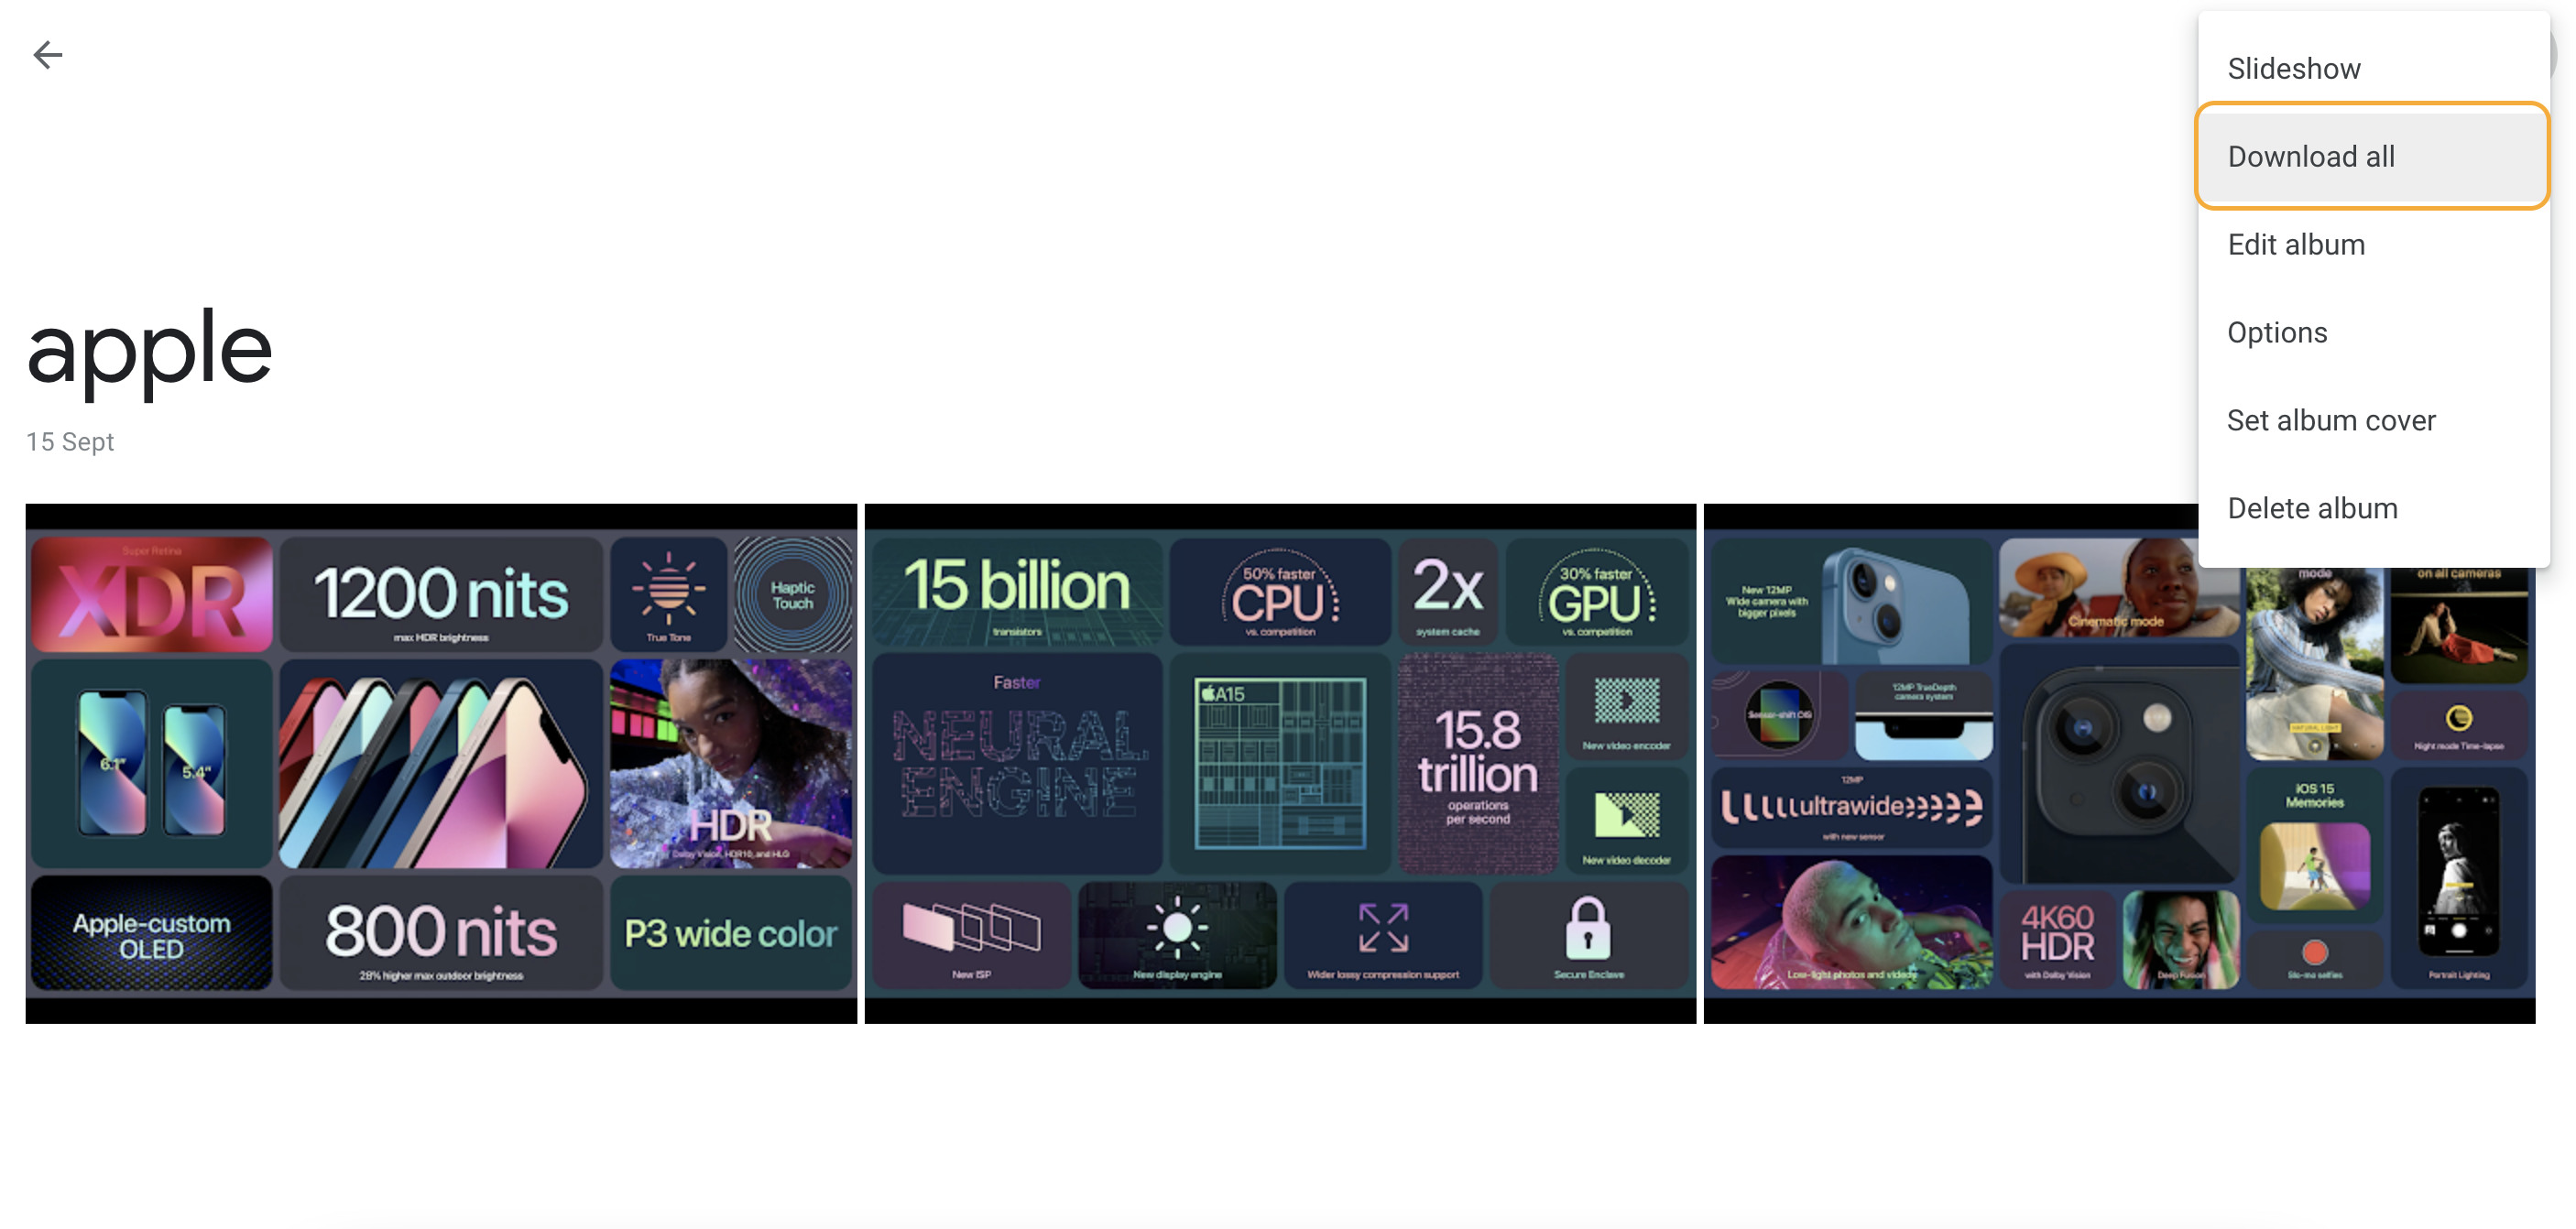
If you’ve sorted your Google Photos into albums, congratulations! It will be very easy to download them. After navigating into the album you want to save, hit the three dots in the top right and select ‘Download all’. Please note that you can only download one album at a time.
How to download images from Google Photos
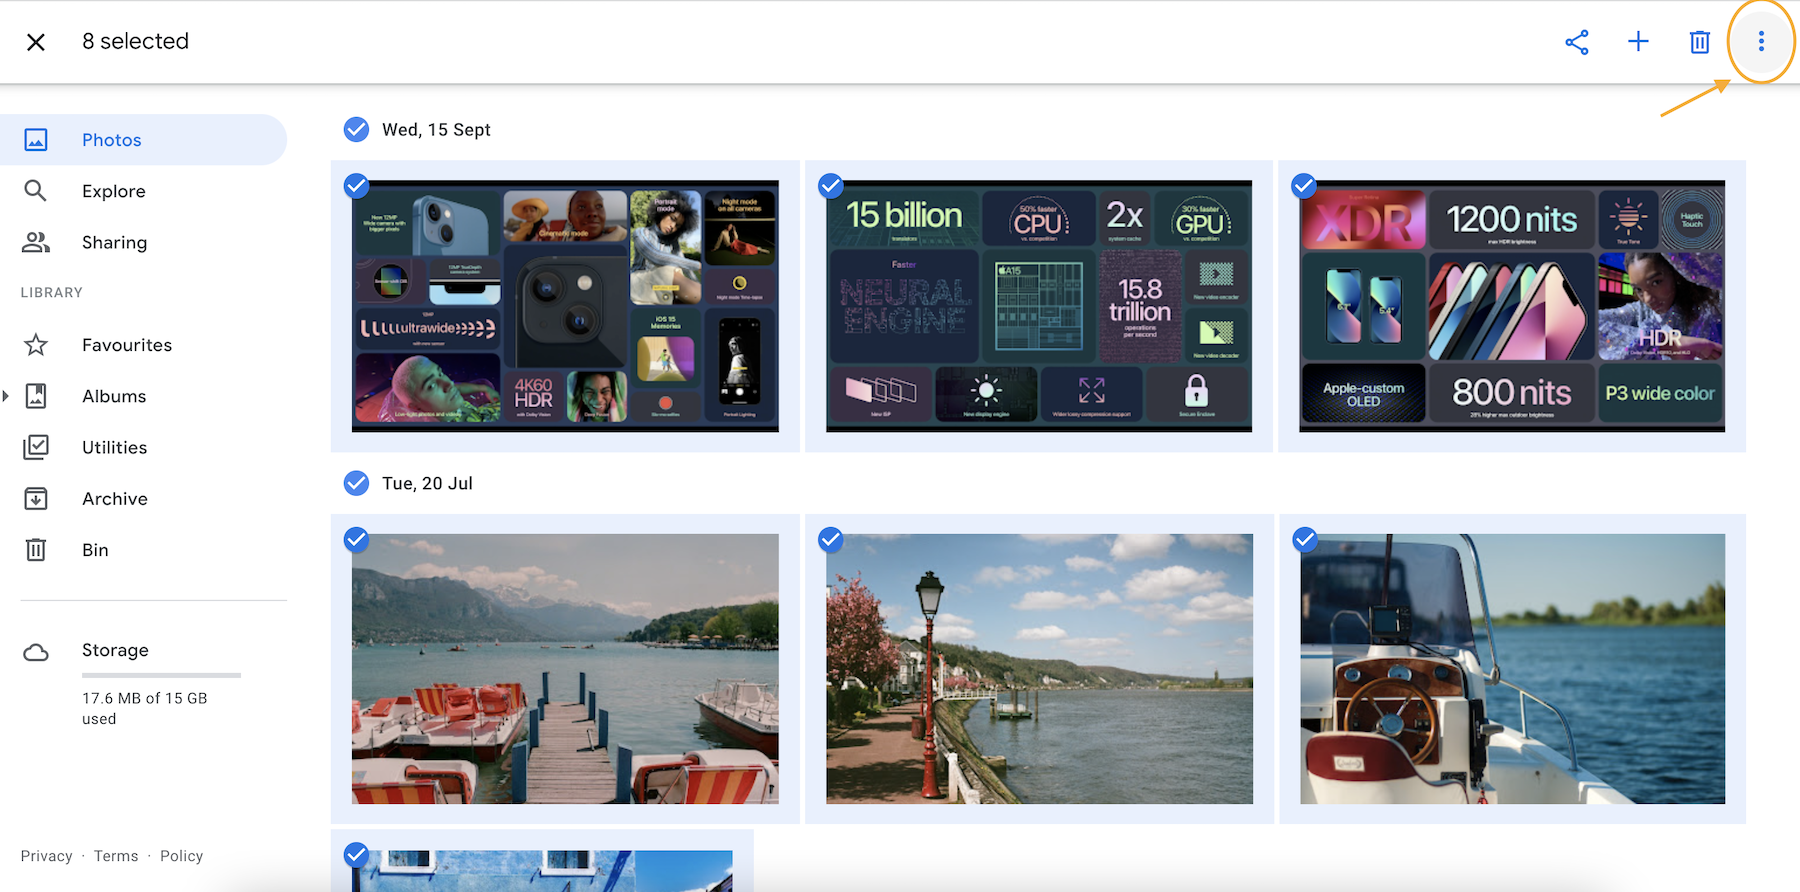
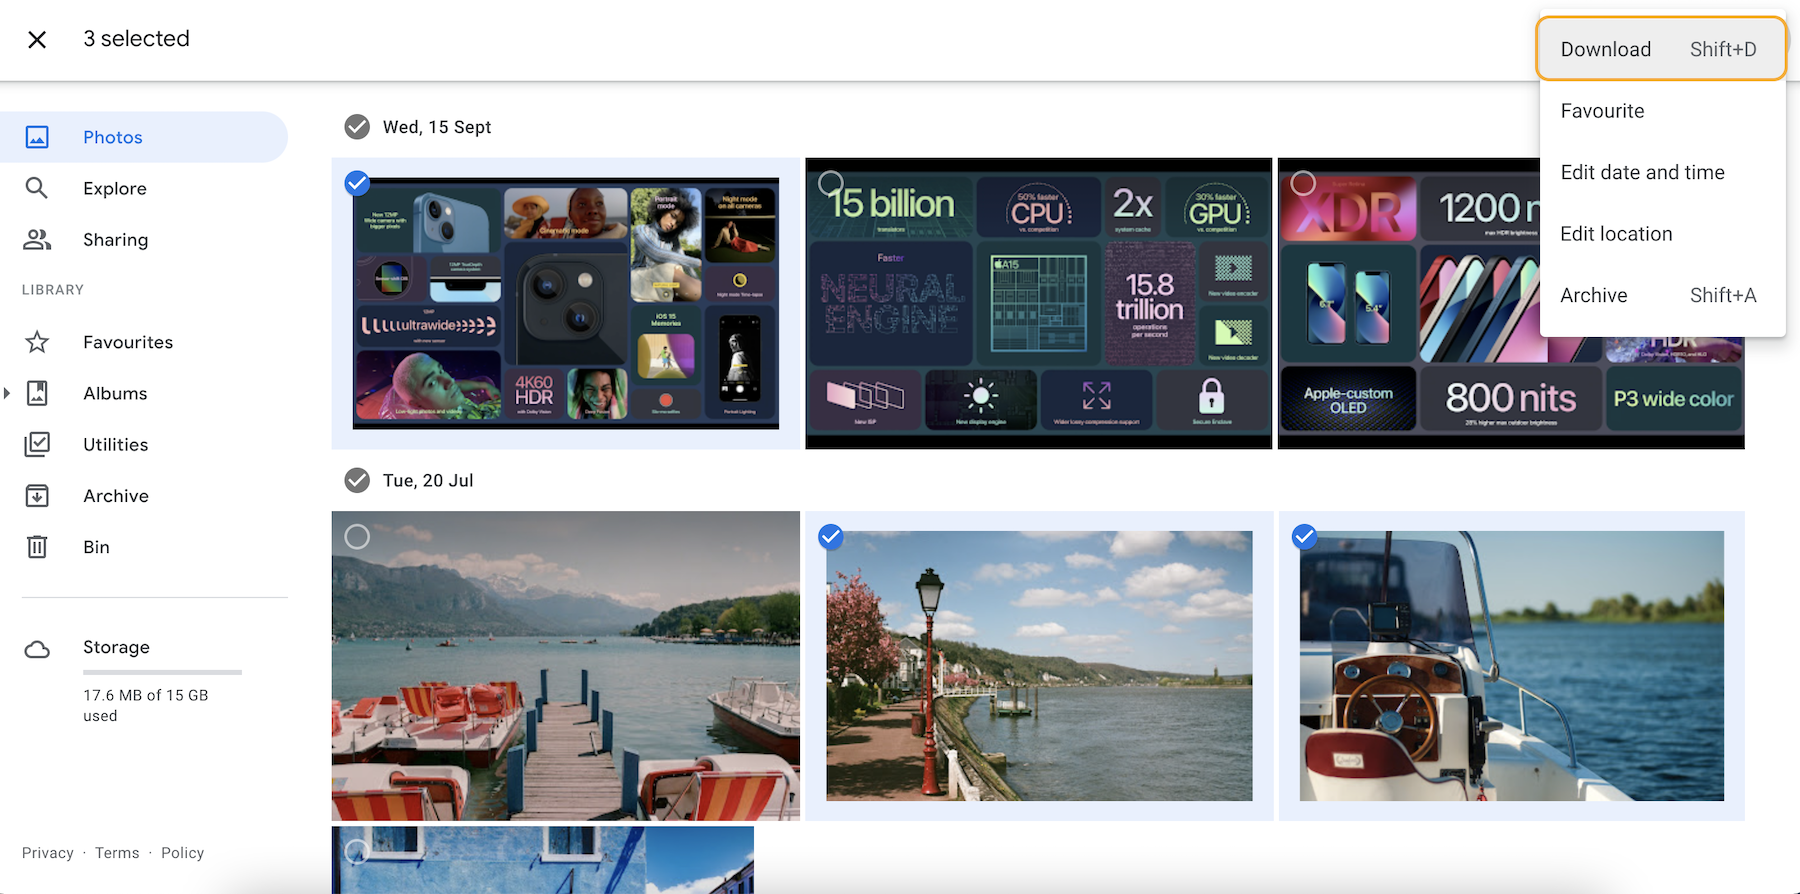
First, select the photos you want to download, then hit the three dots in the top right and click on ‘Download’. You can quickly select multiple photos by pressing and holding Shift. This will select all the images between the first and last ones you click on.
This method allows you to pick and choose the photos you want, but if you have thousands of images on Google Photos, it would be very time-consuming to rummage through them all. So, if you have lots of photos saved, it’s probably best to refer to the third method underneath.
How to download everything from Google Photos at once
Unfortunately, Google Photos doesn’t have the in-built option to allow you to download all your shots at once. To do this, you need to use Google Takeout. Here’s how you do it:
First, select the check box next to Google Photos in the ‘Select data to include’ section.
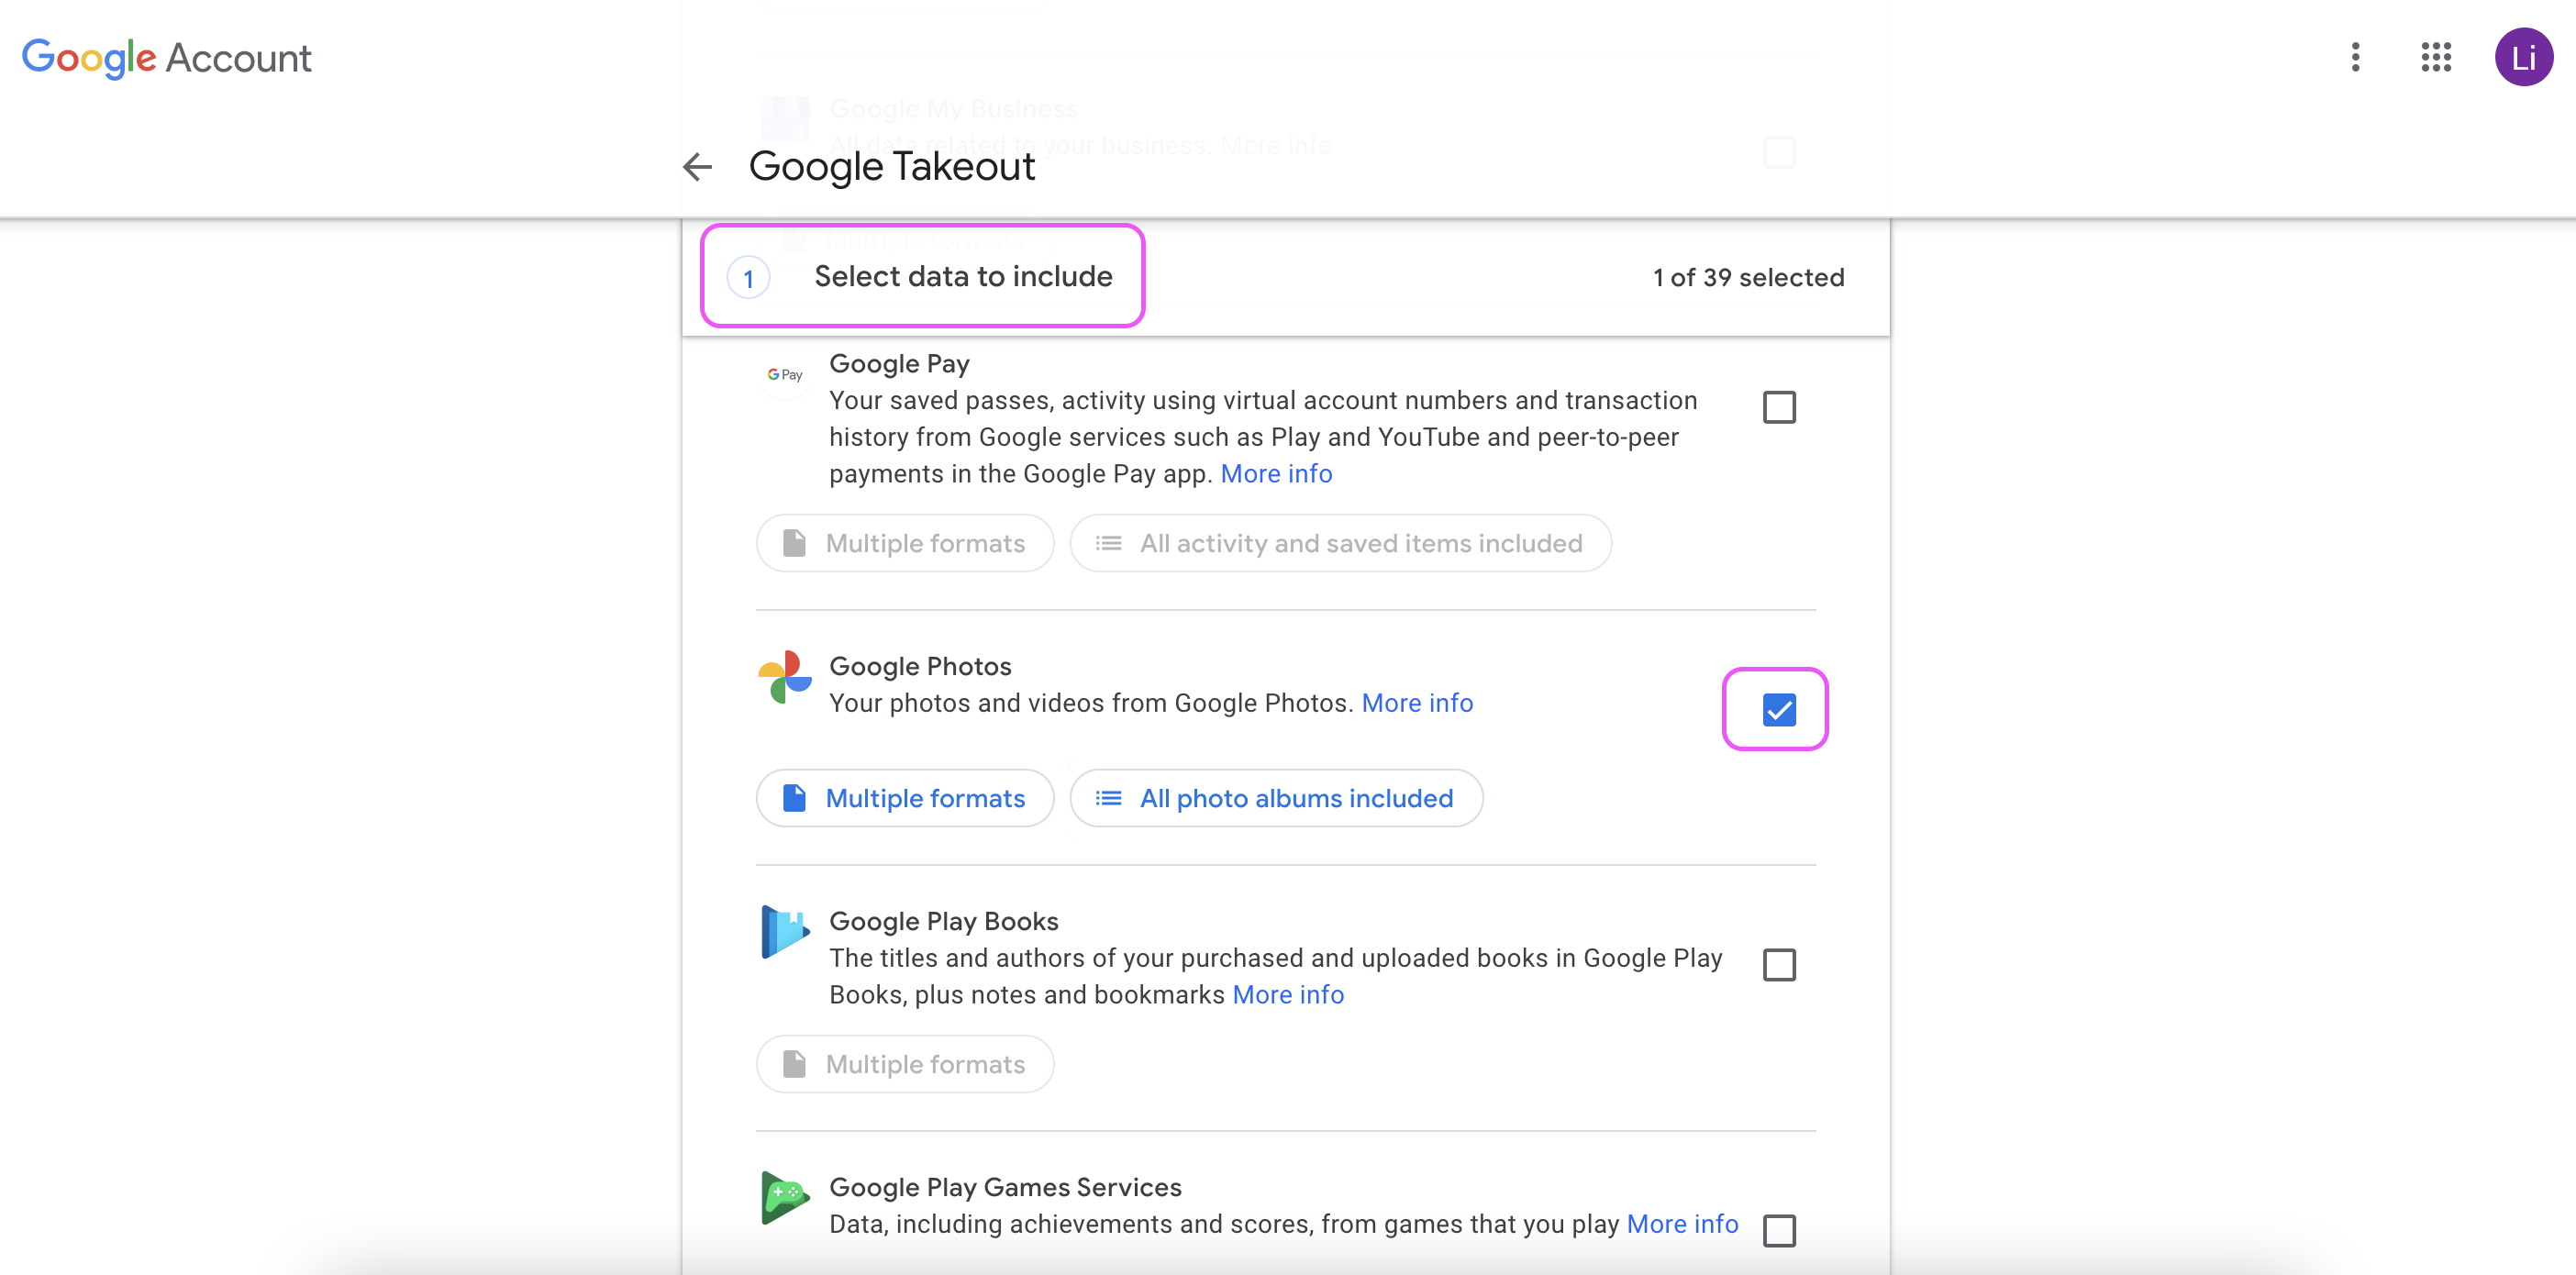
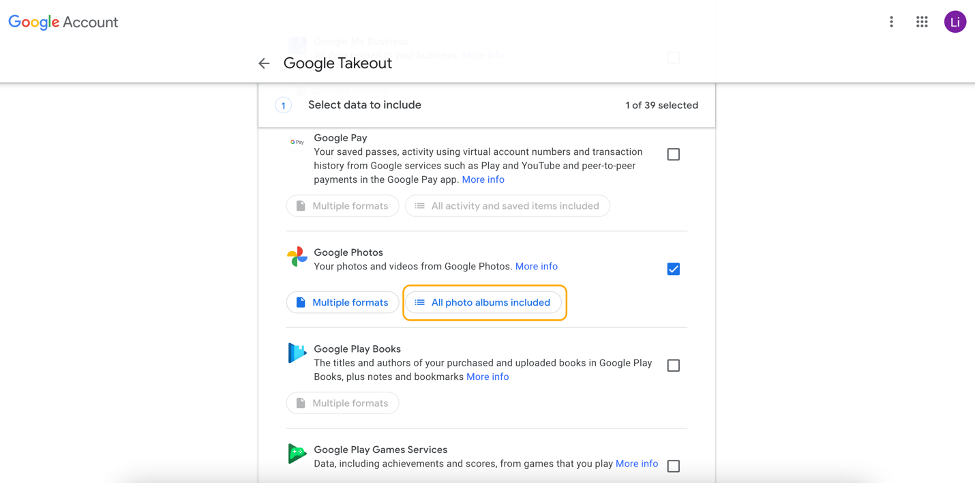
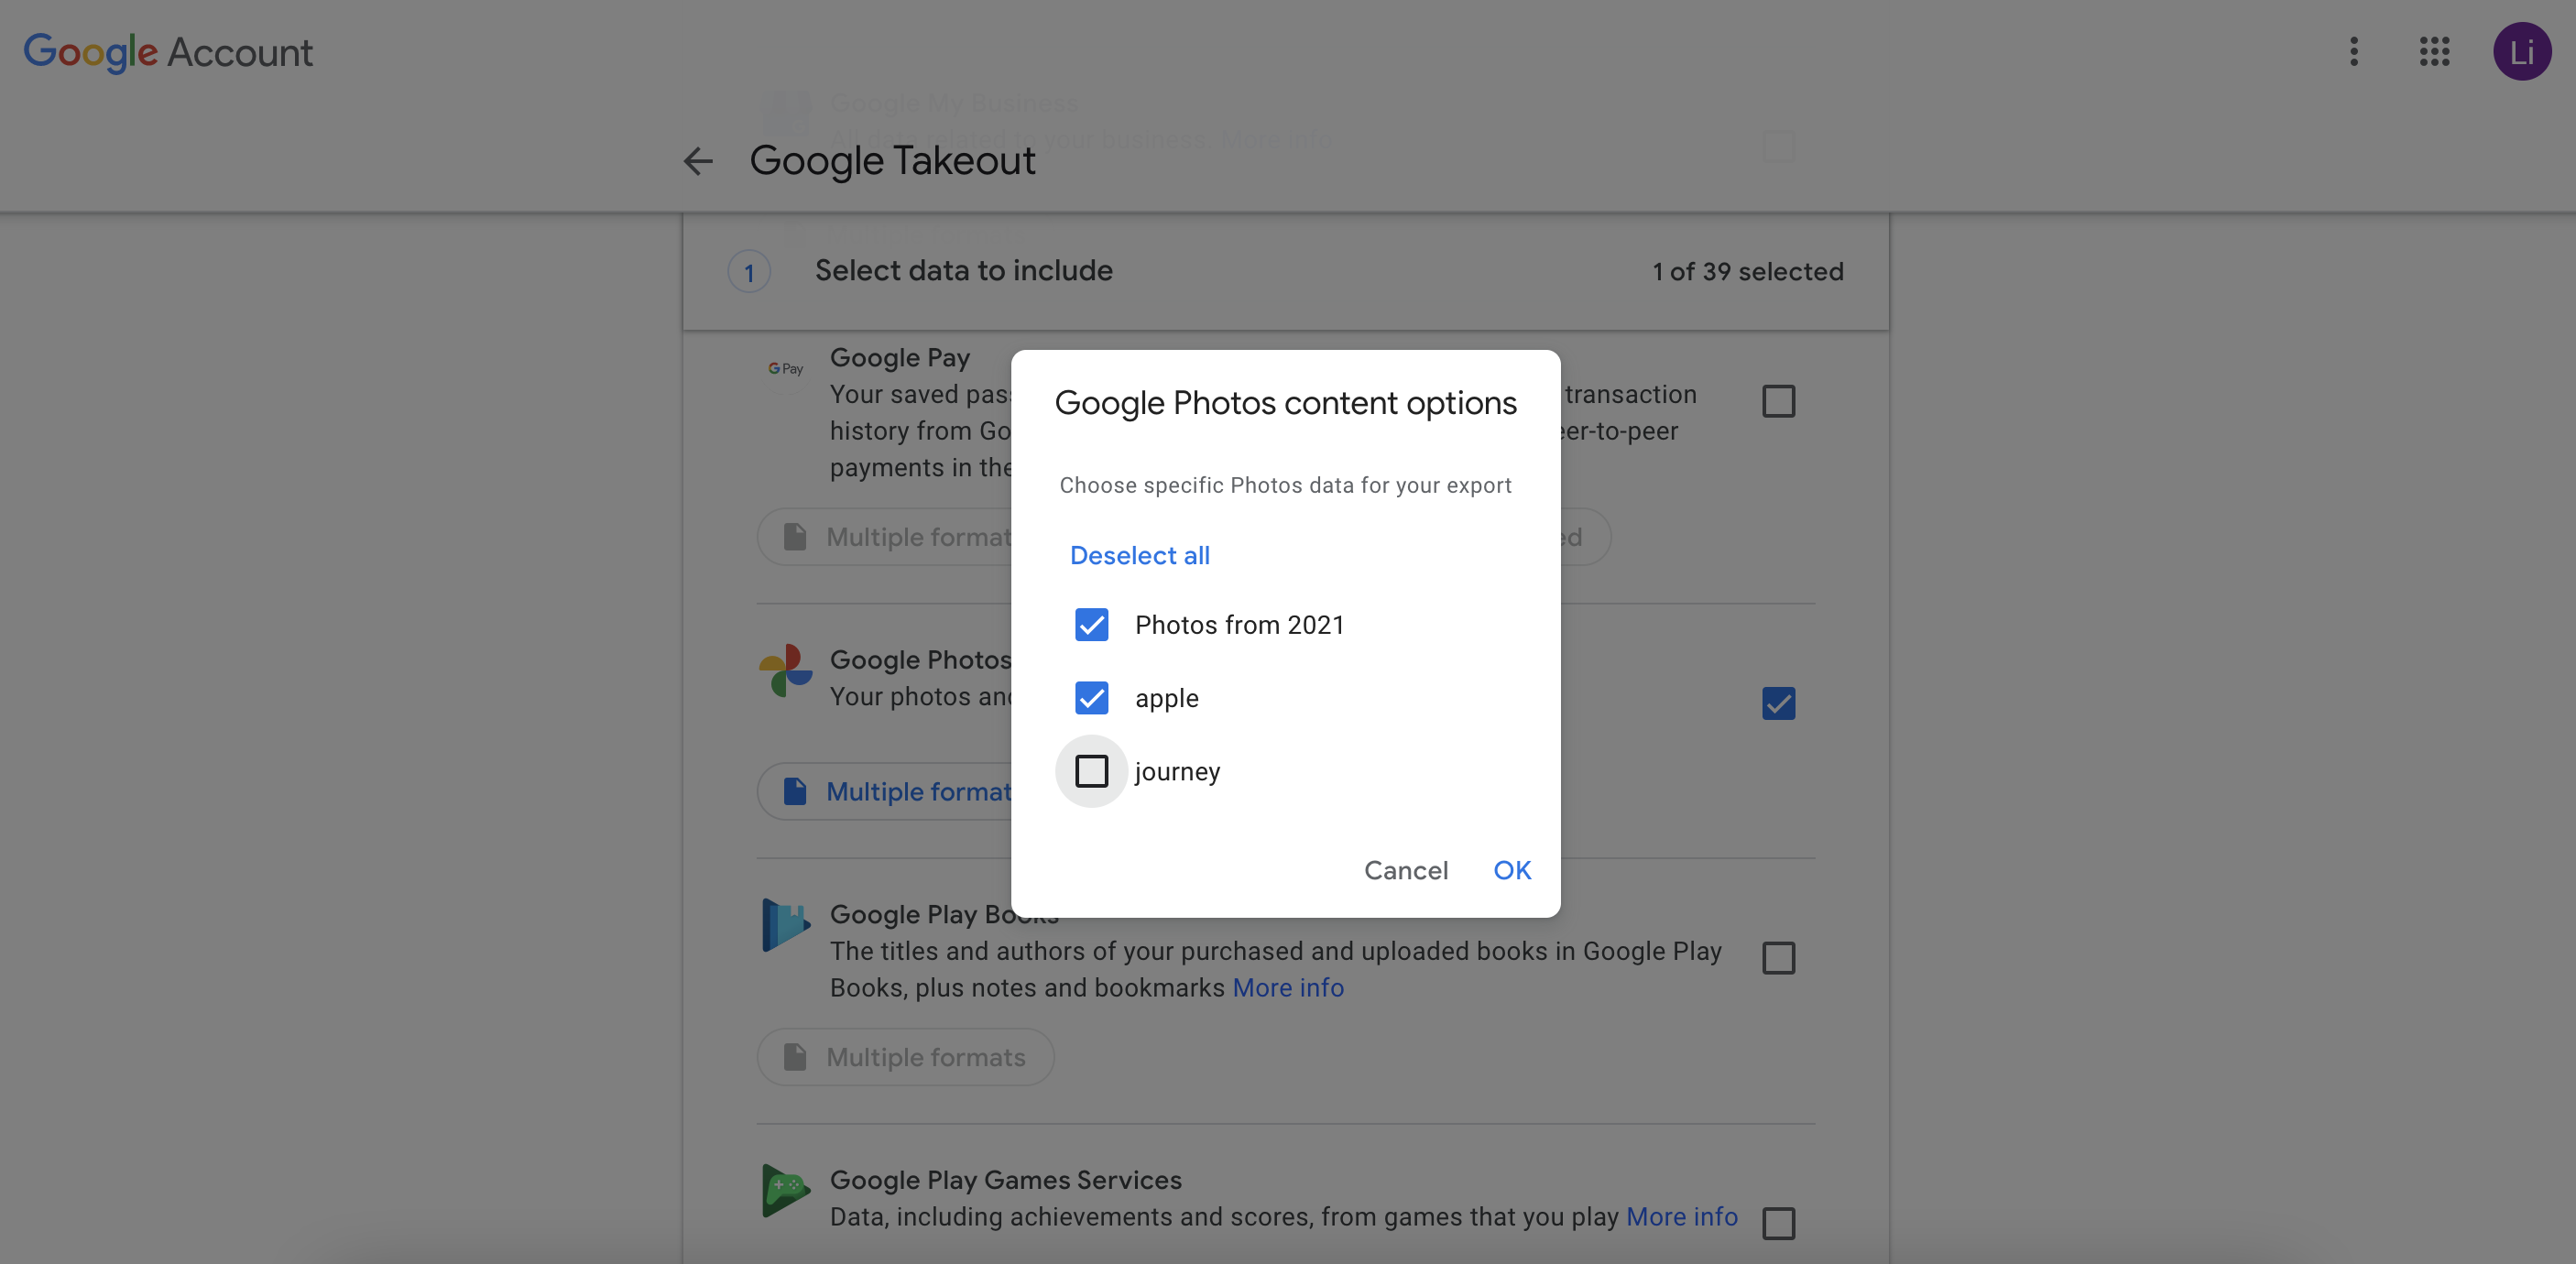
The option ‘All photo albums included’ allows you to select the albums you want to download.
Once you’ve chosen which ones you would like to download, hit ‘OK’.
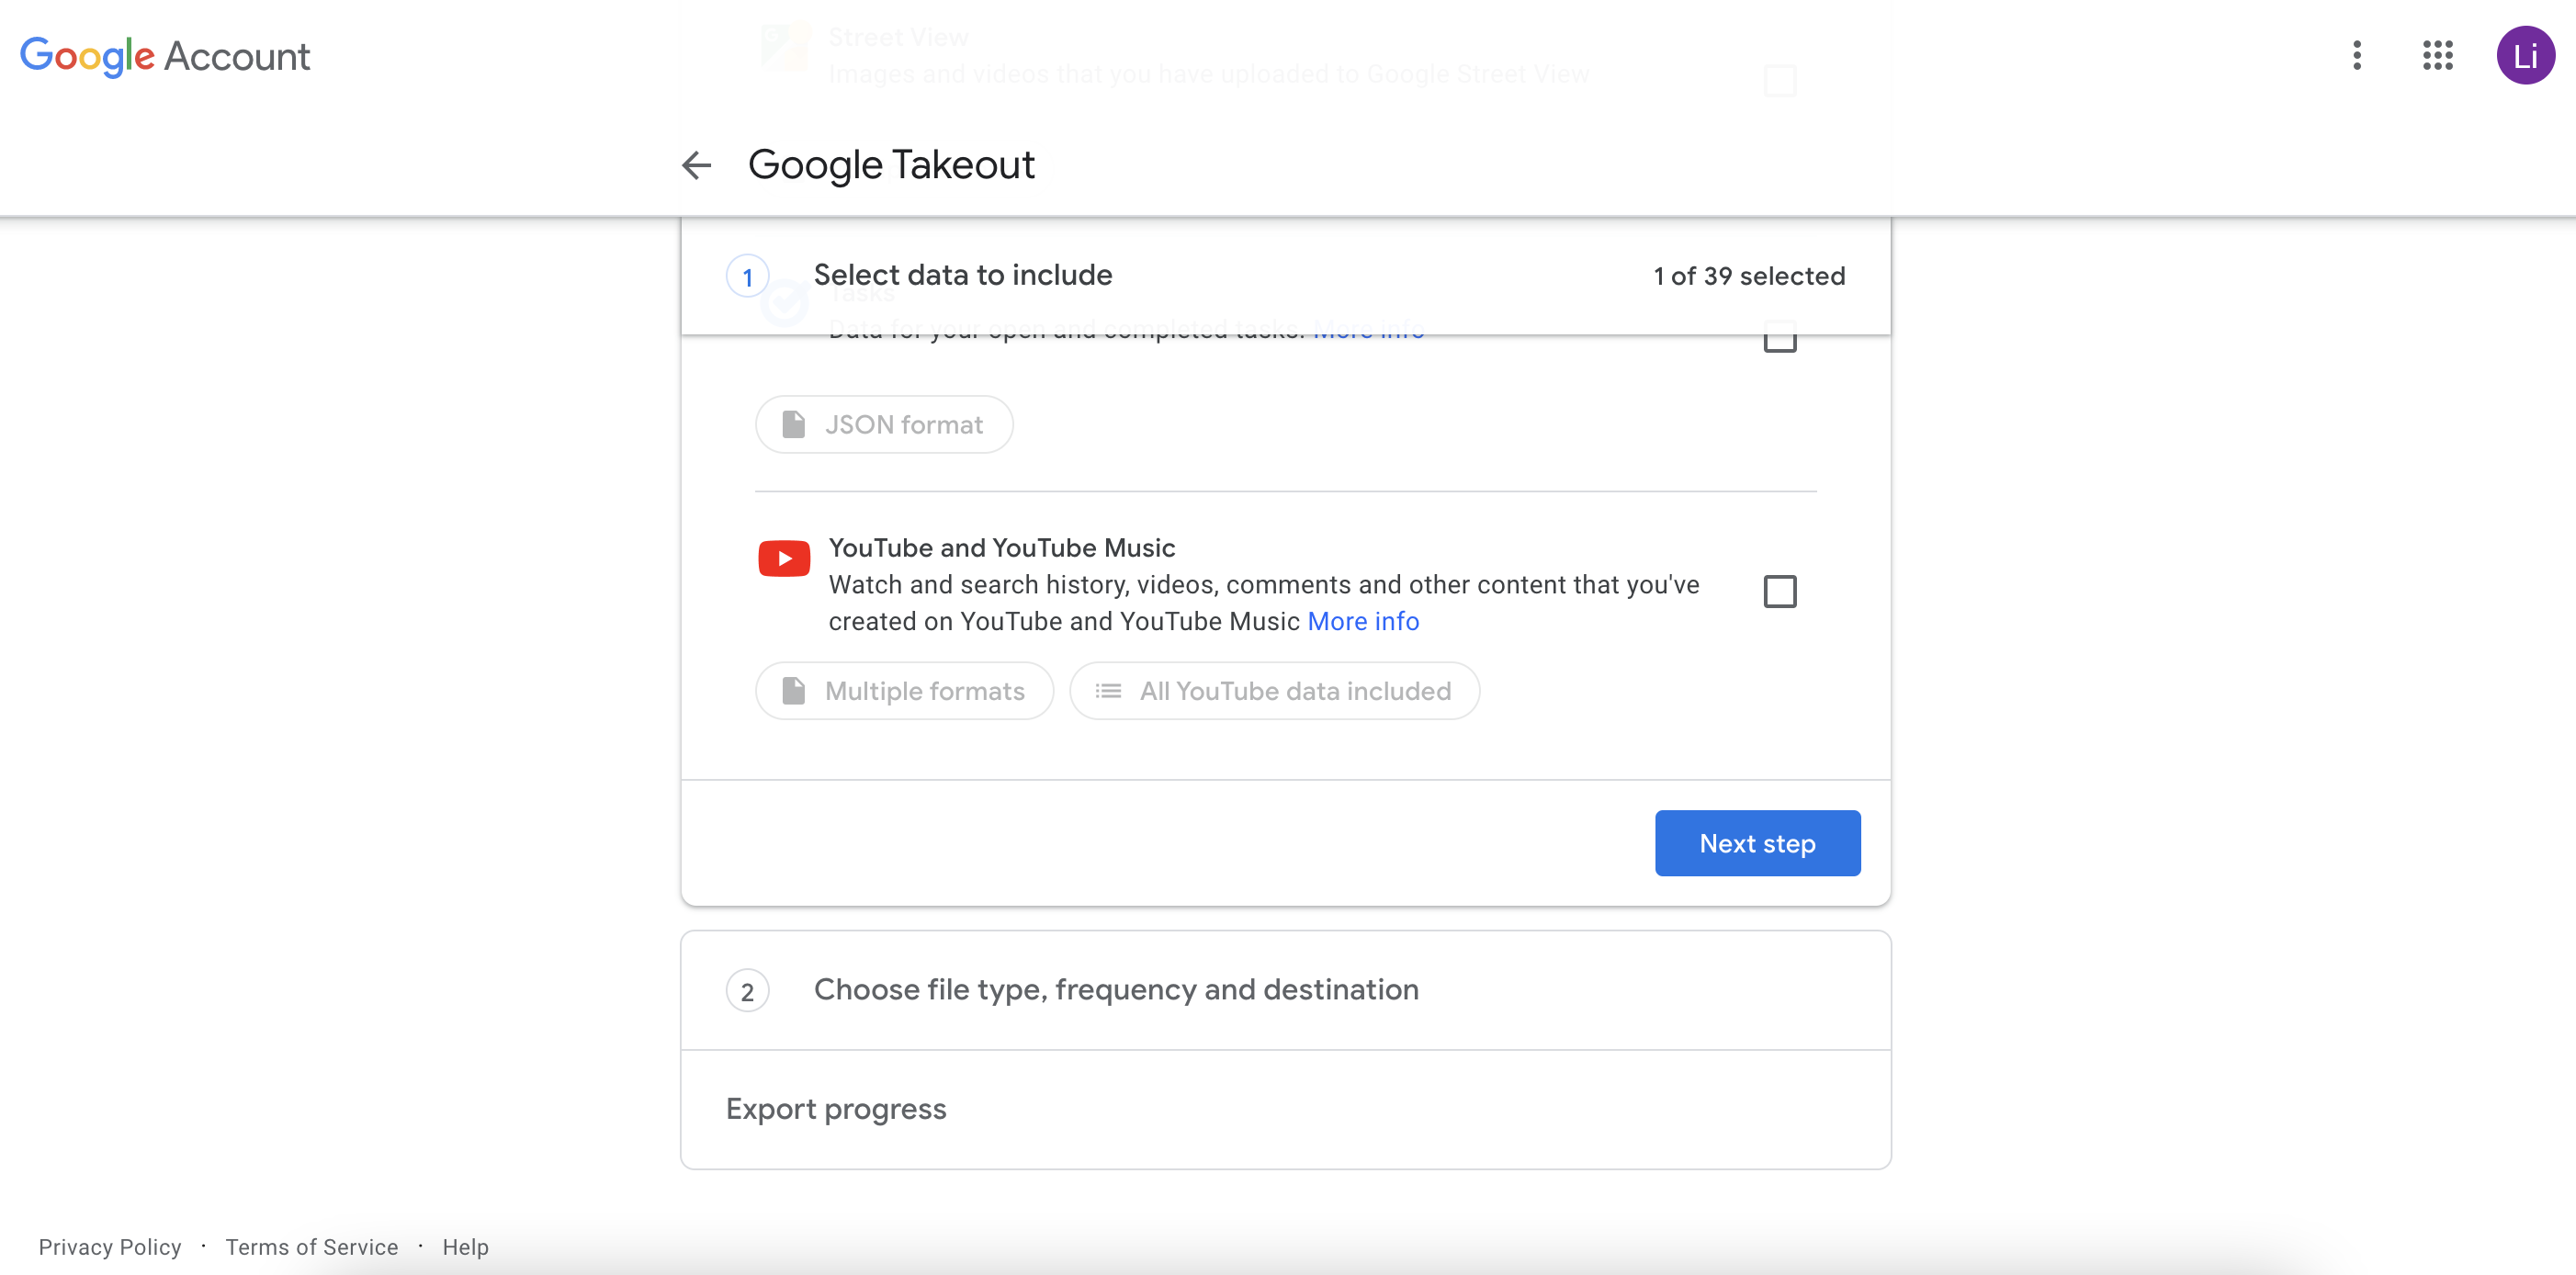
After that, scroll down and select ‘Next step’.
Then you can set the download frequency and file type and size.
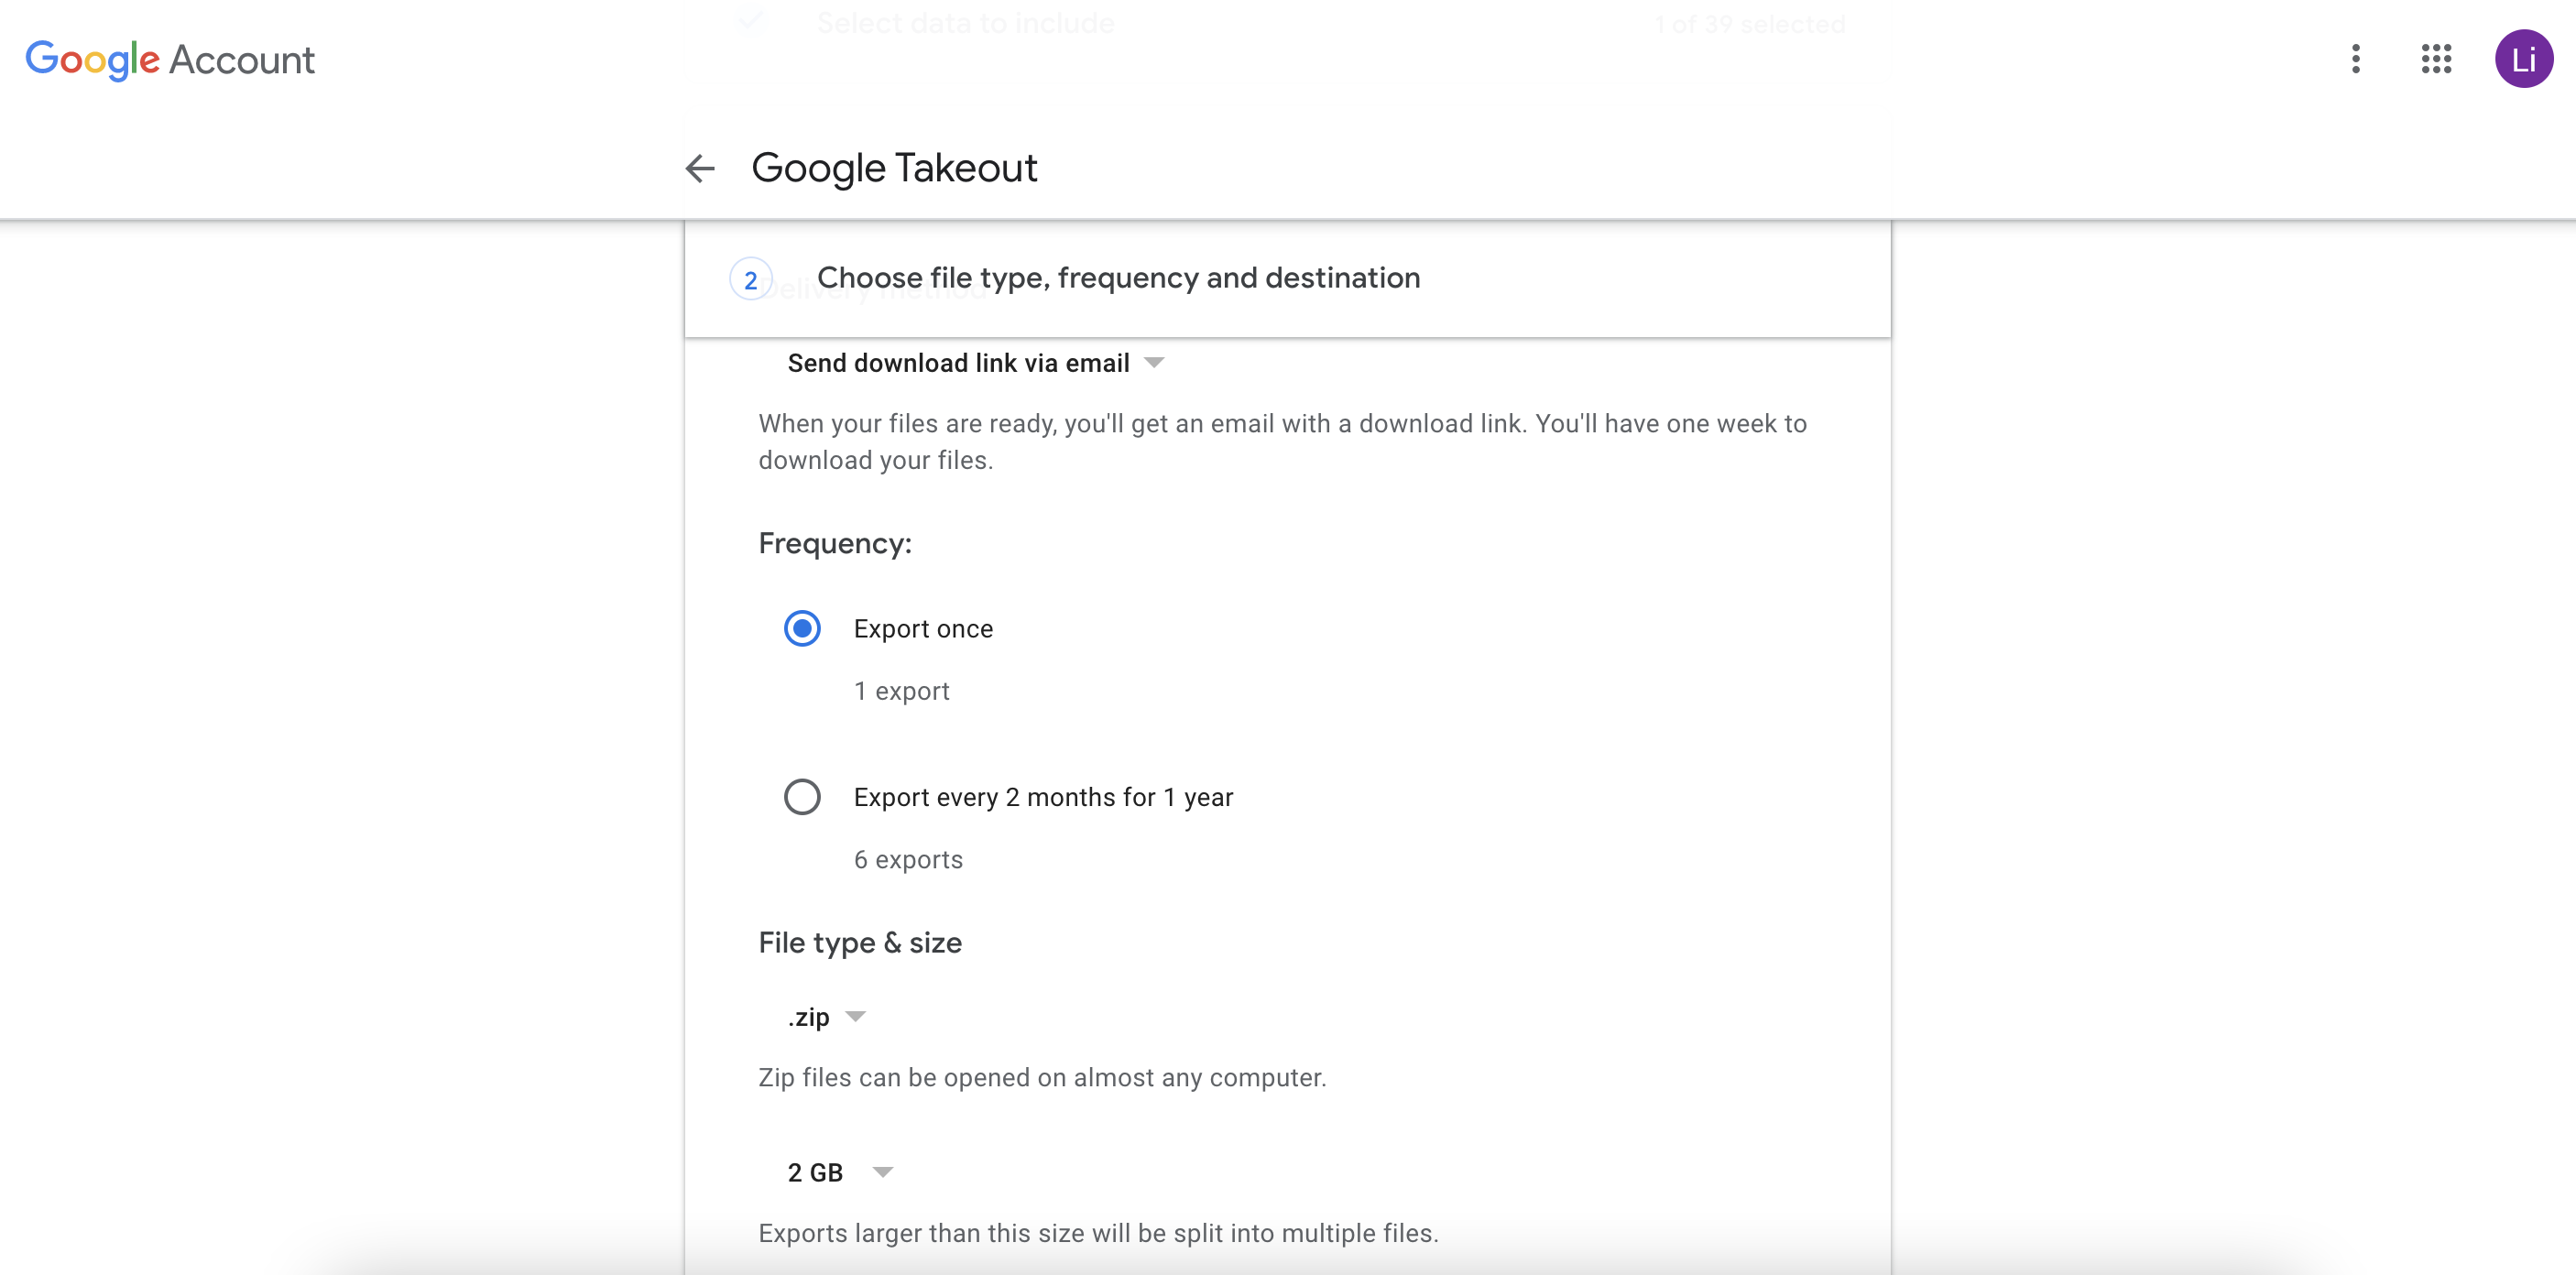
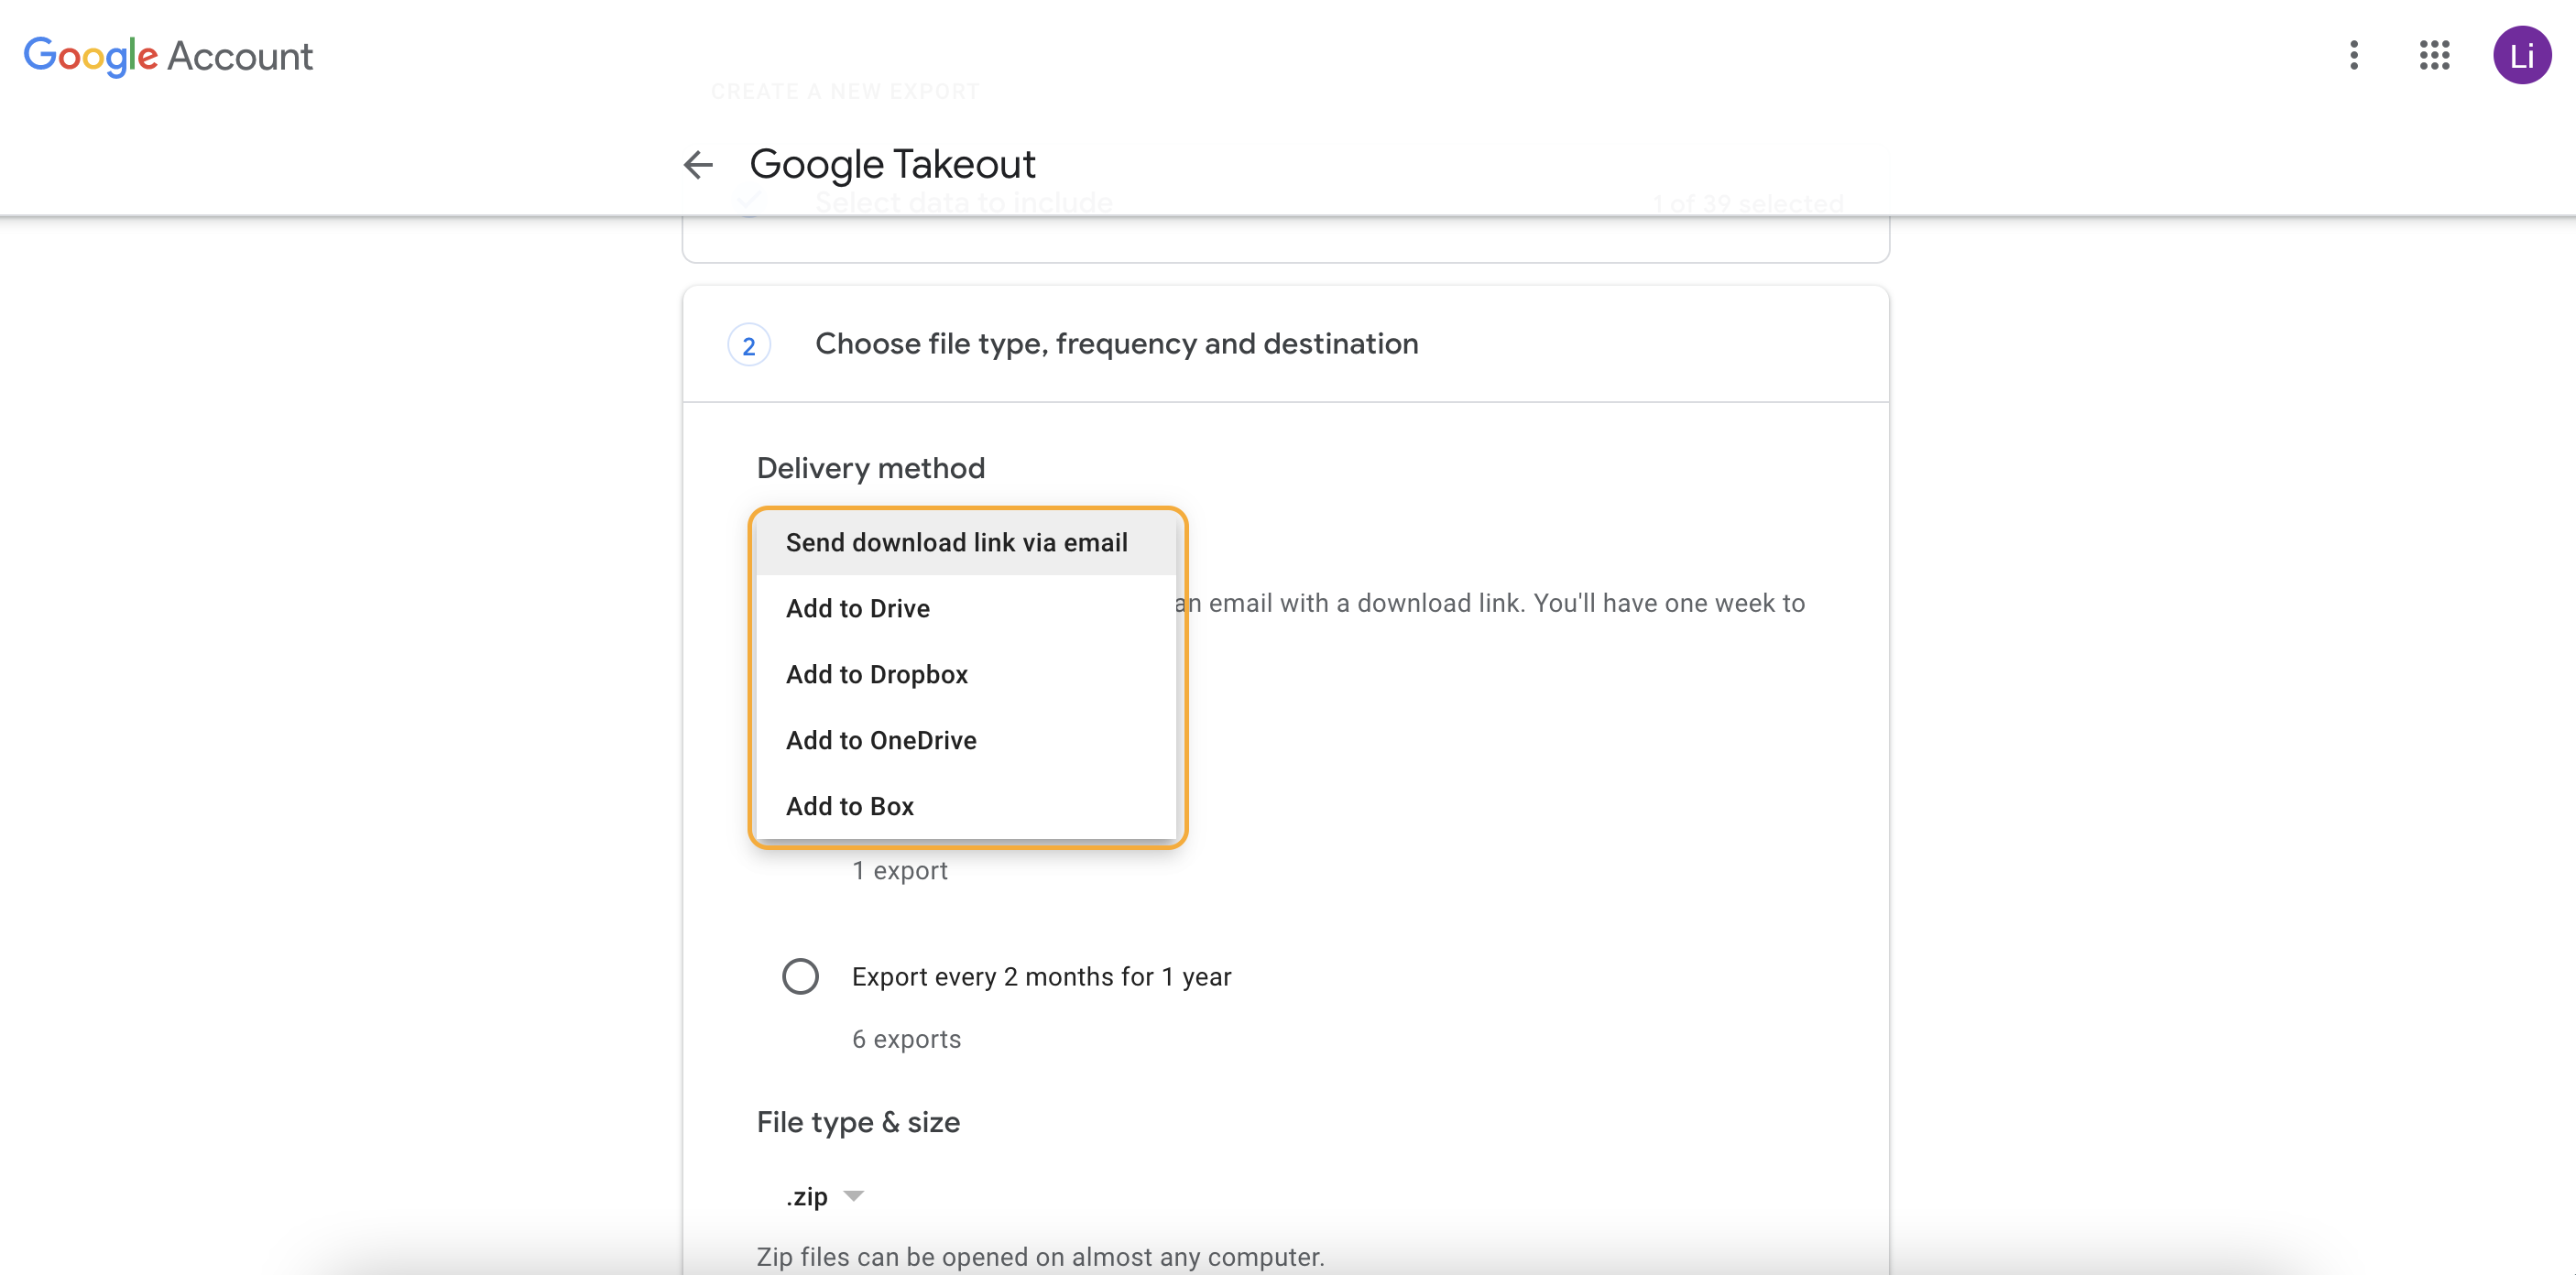
You can also transfer your Google Photos to other cloud services by using the ‘Delivery method’ menu.
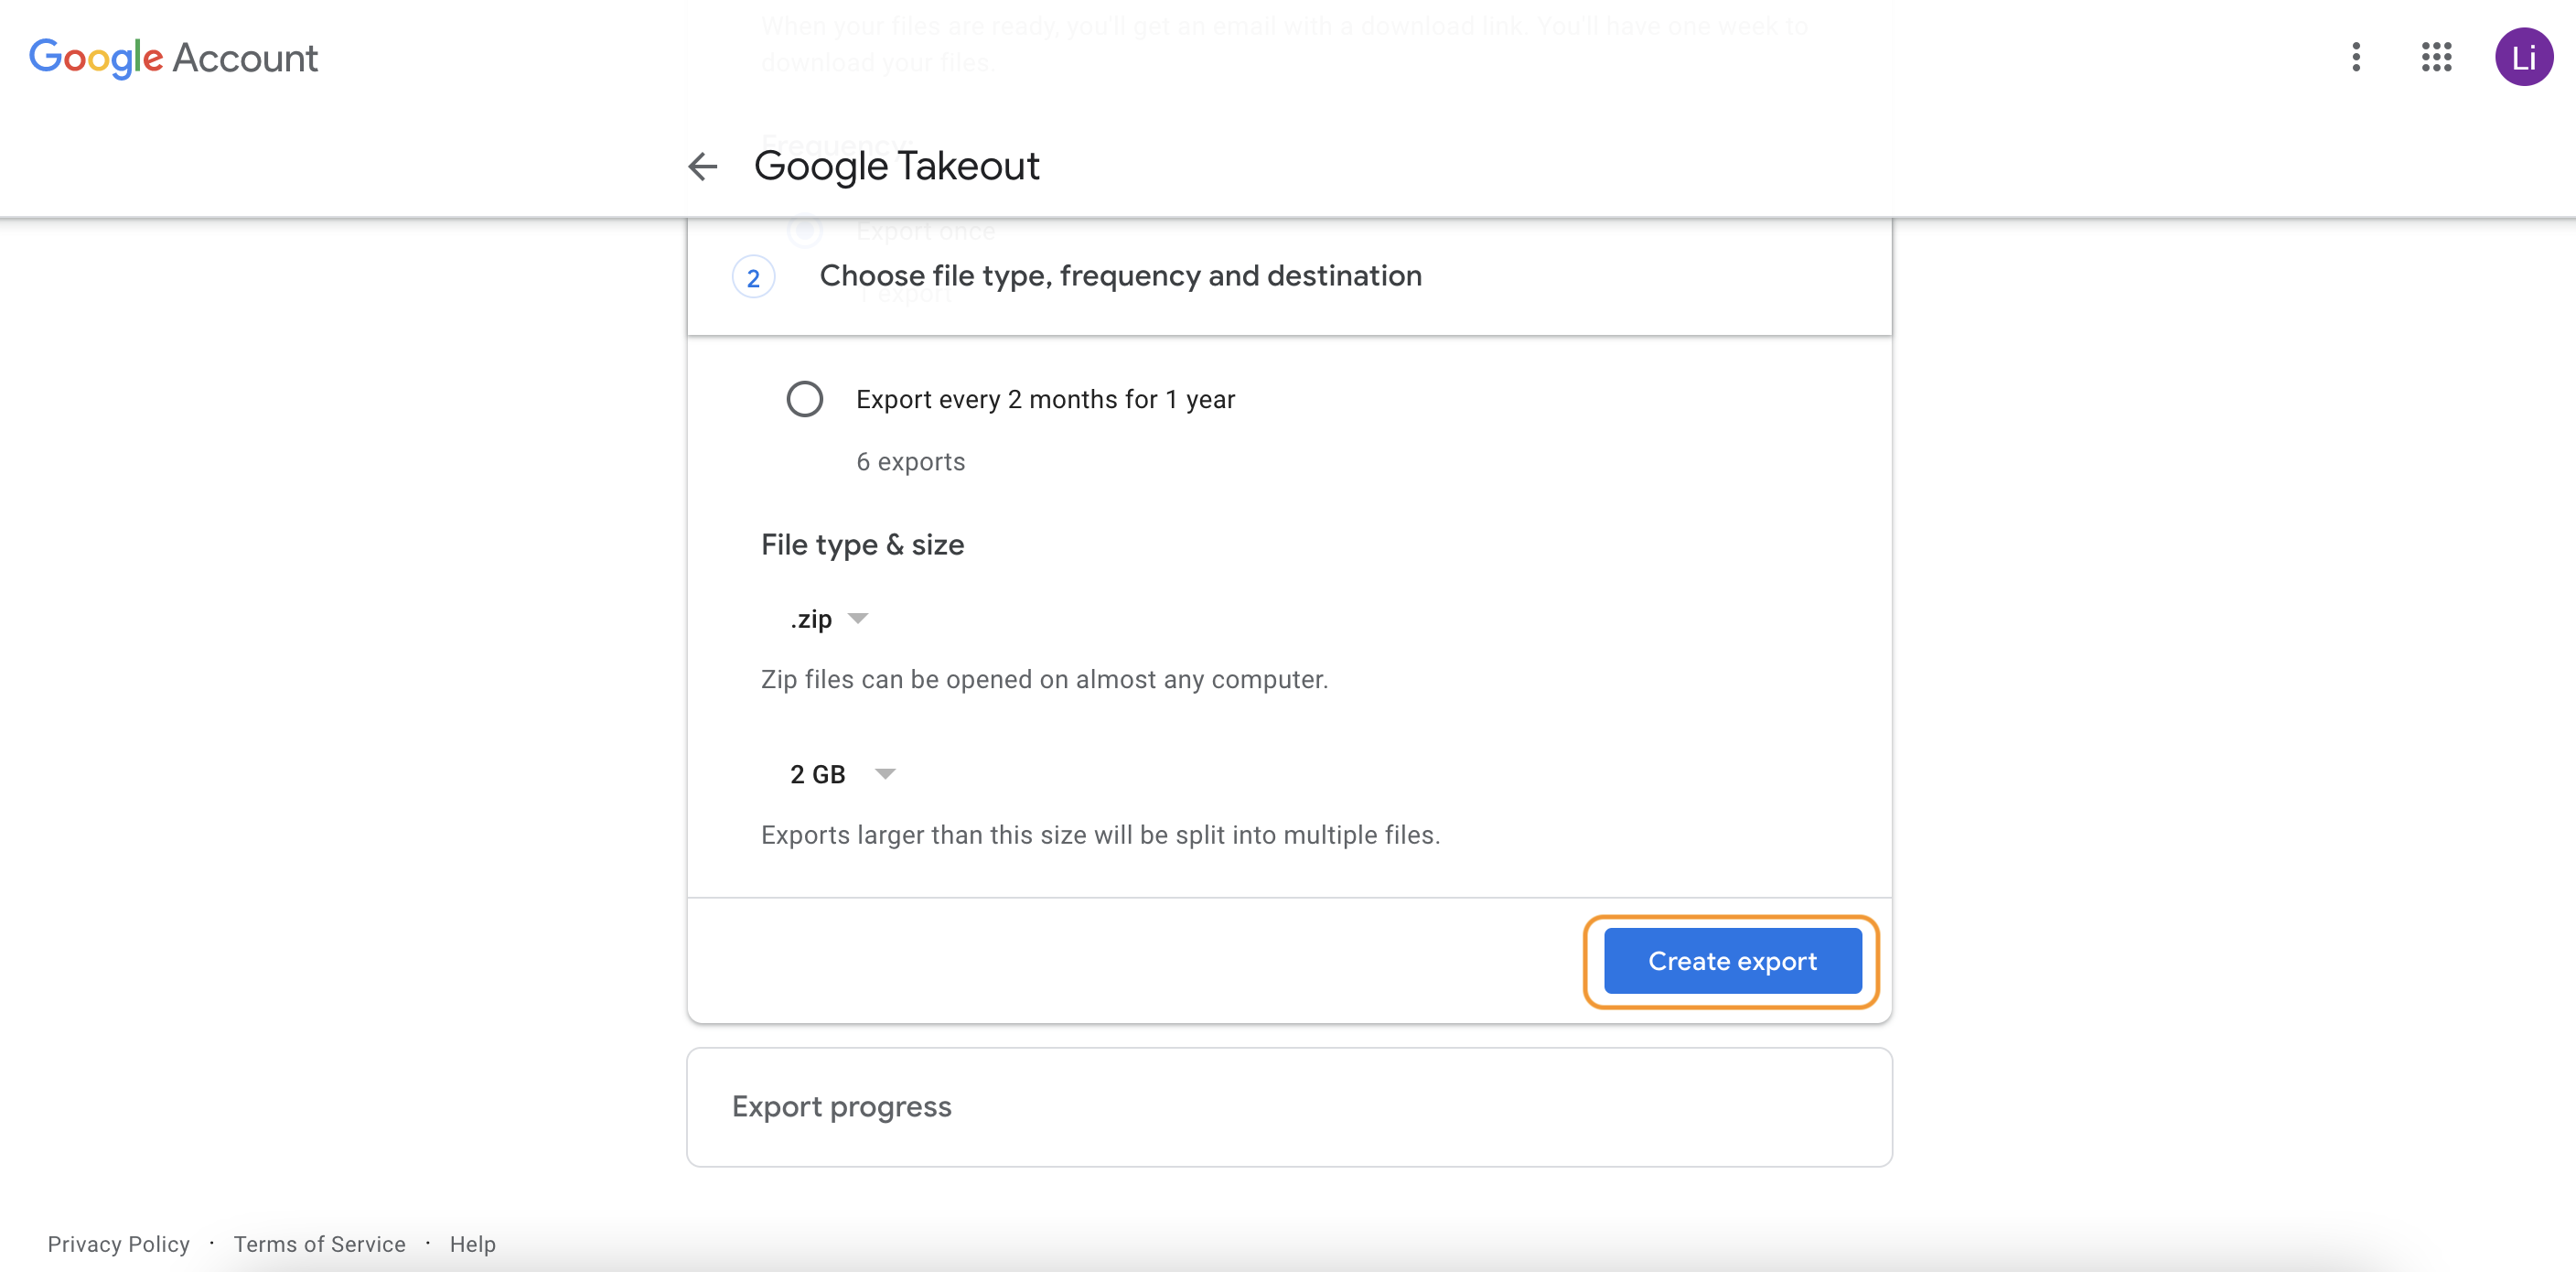
Once your settings are sorted, click ‘Create export’ and wait a few minutes for Google to get everything ready.
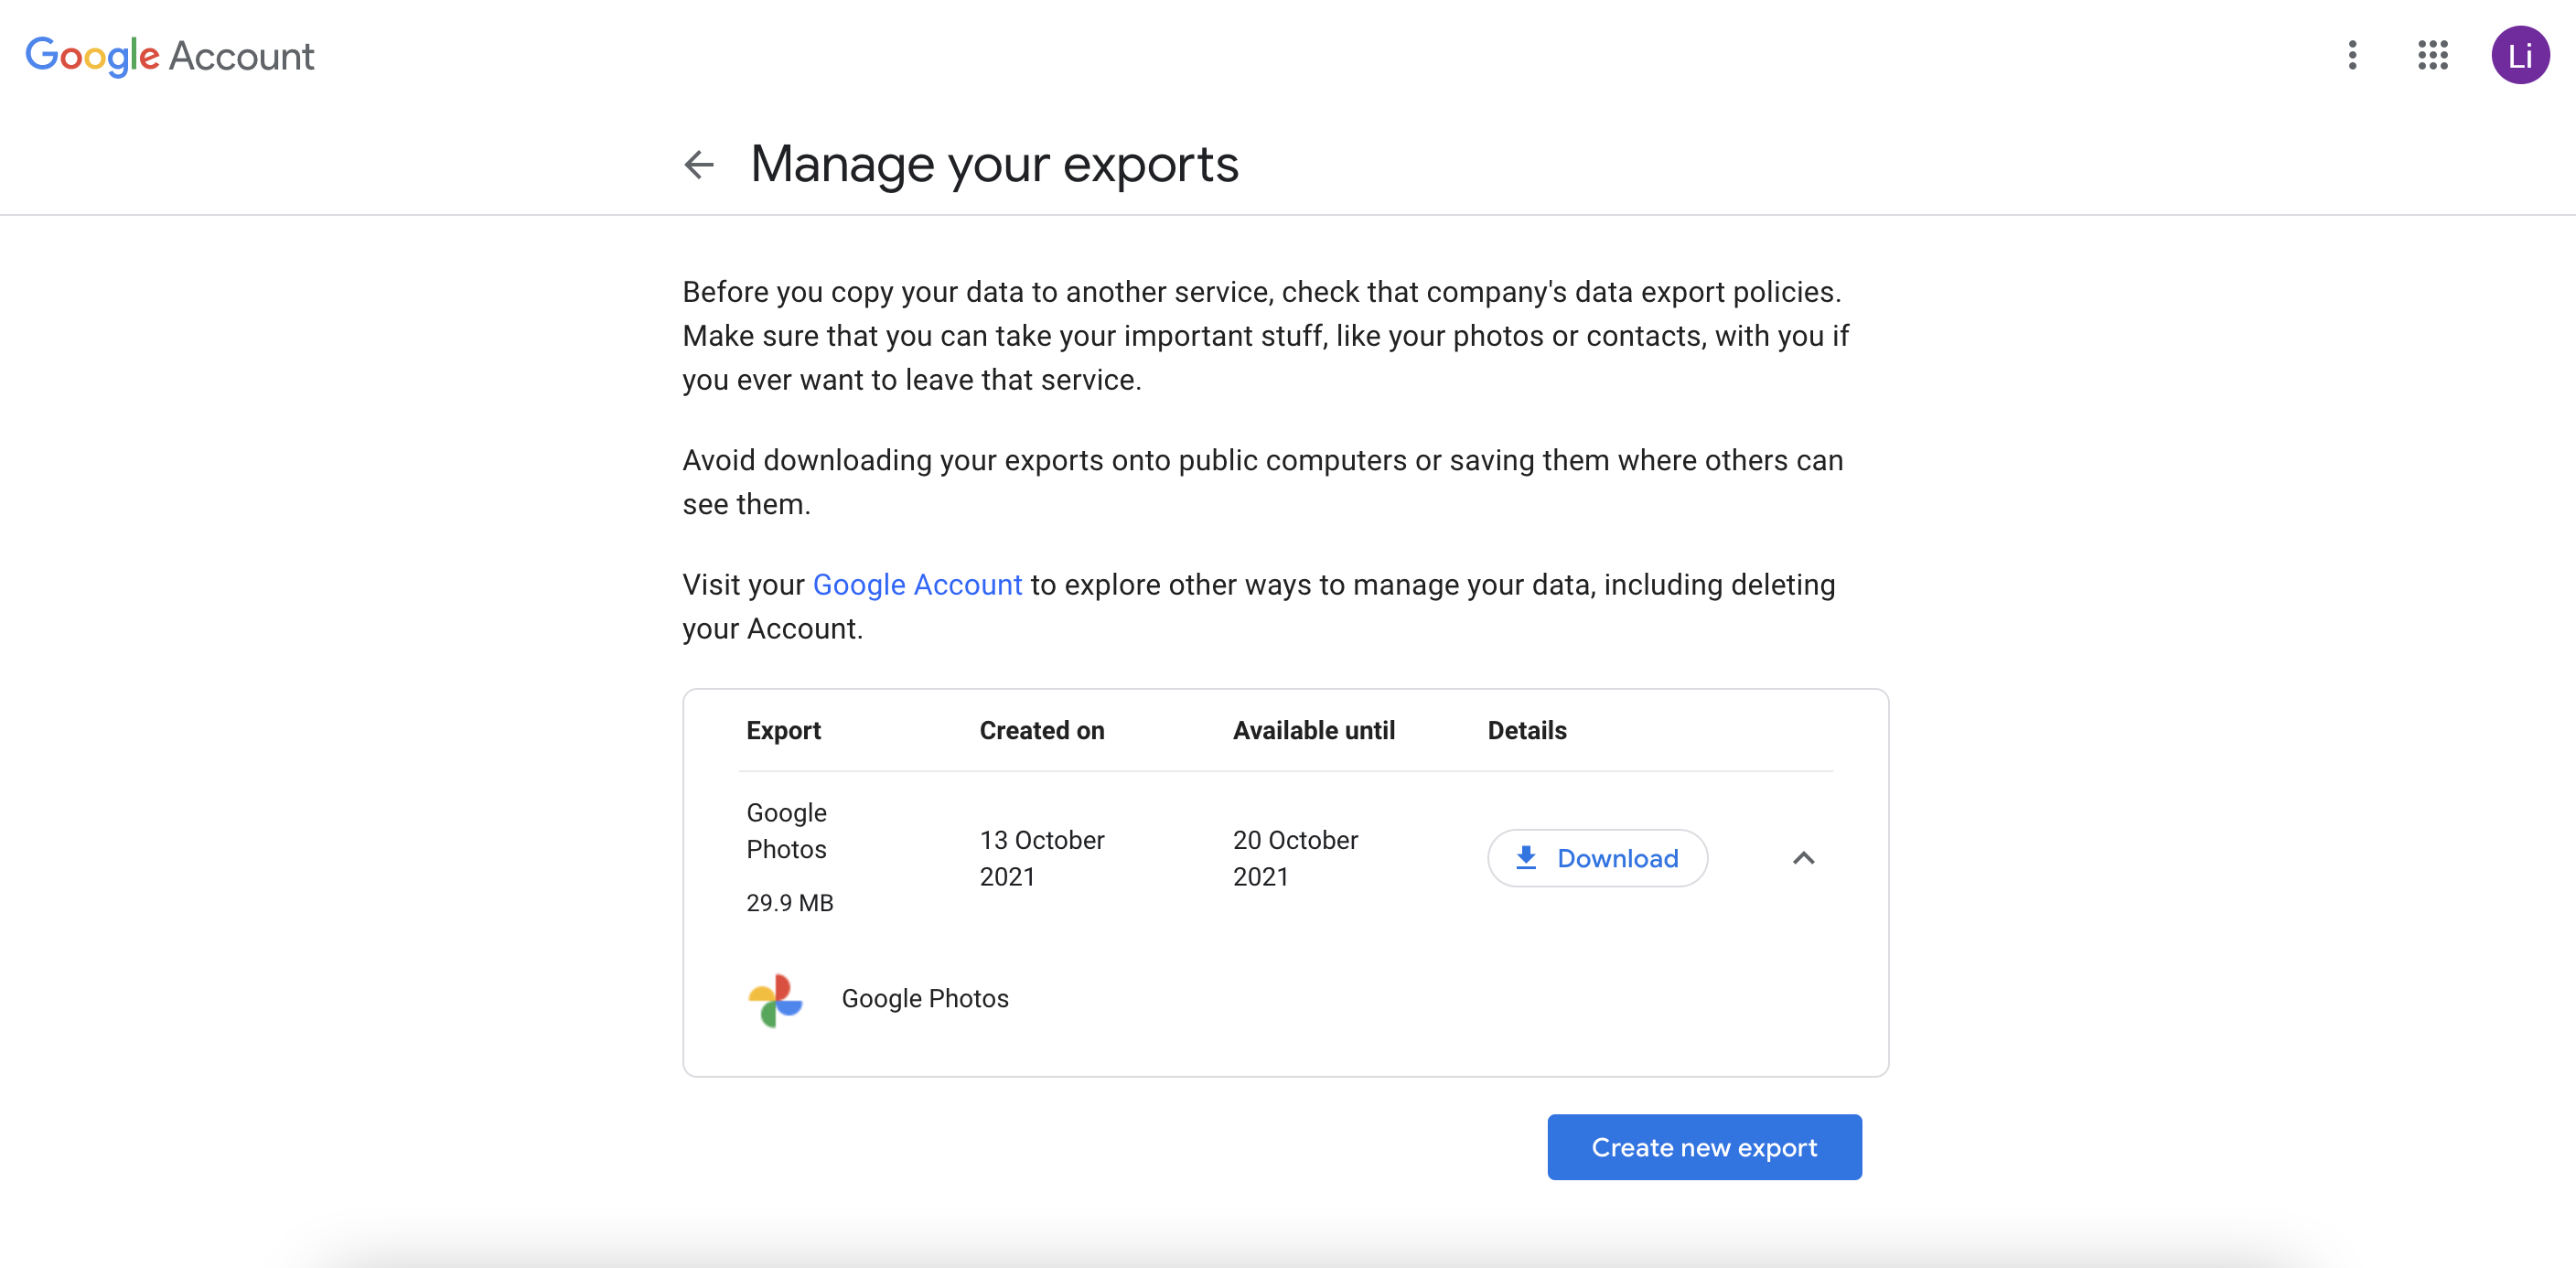
You can download your Google Photos when this page pops up. Just click ‘Download’.
How to manage your Google Photos
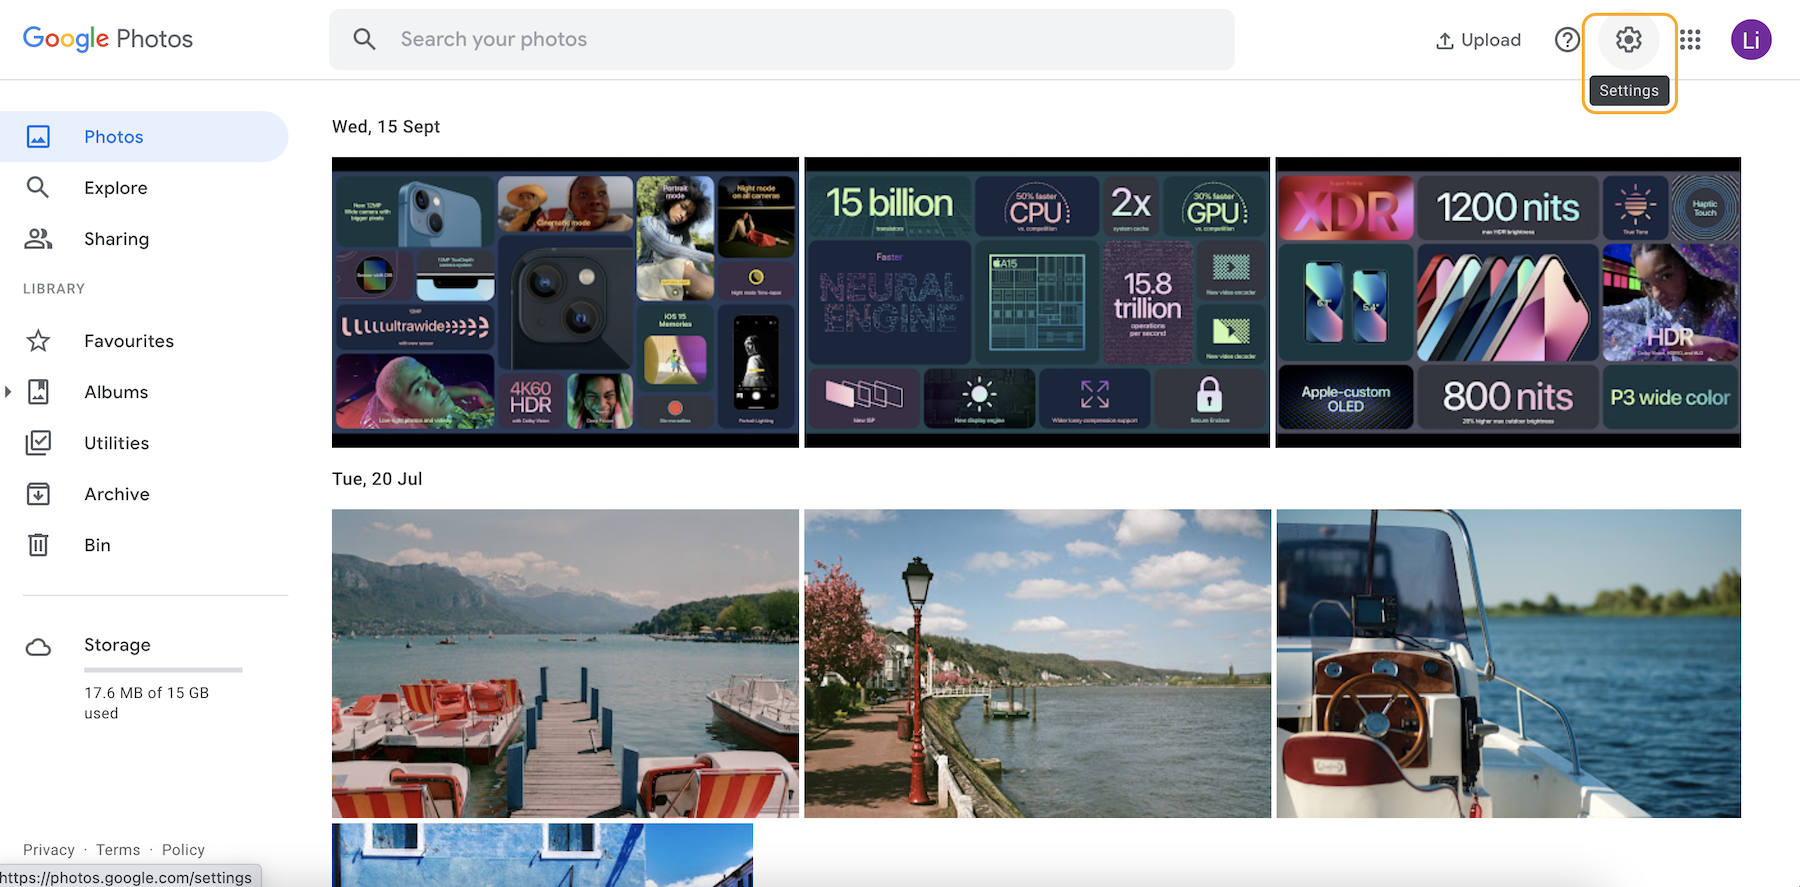
The free space management tool in Google Photos can help a lot with removing redundant images. First, click the Settings icon in the top-right corner.
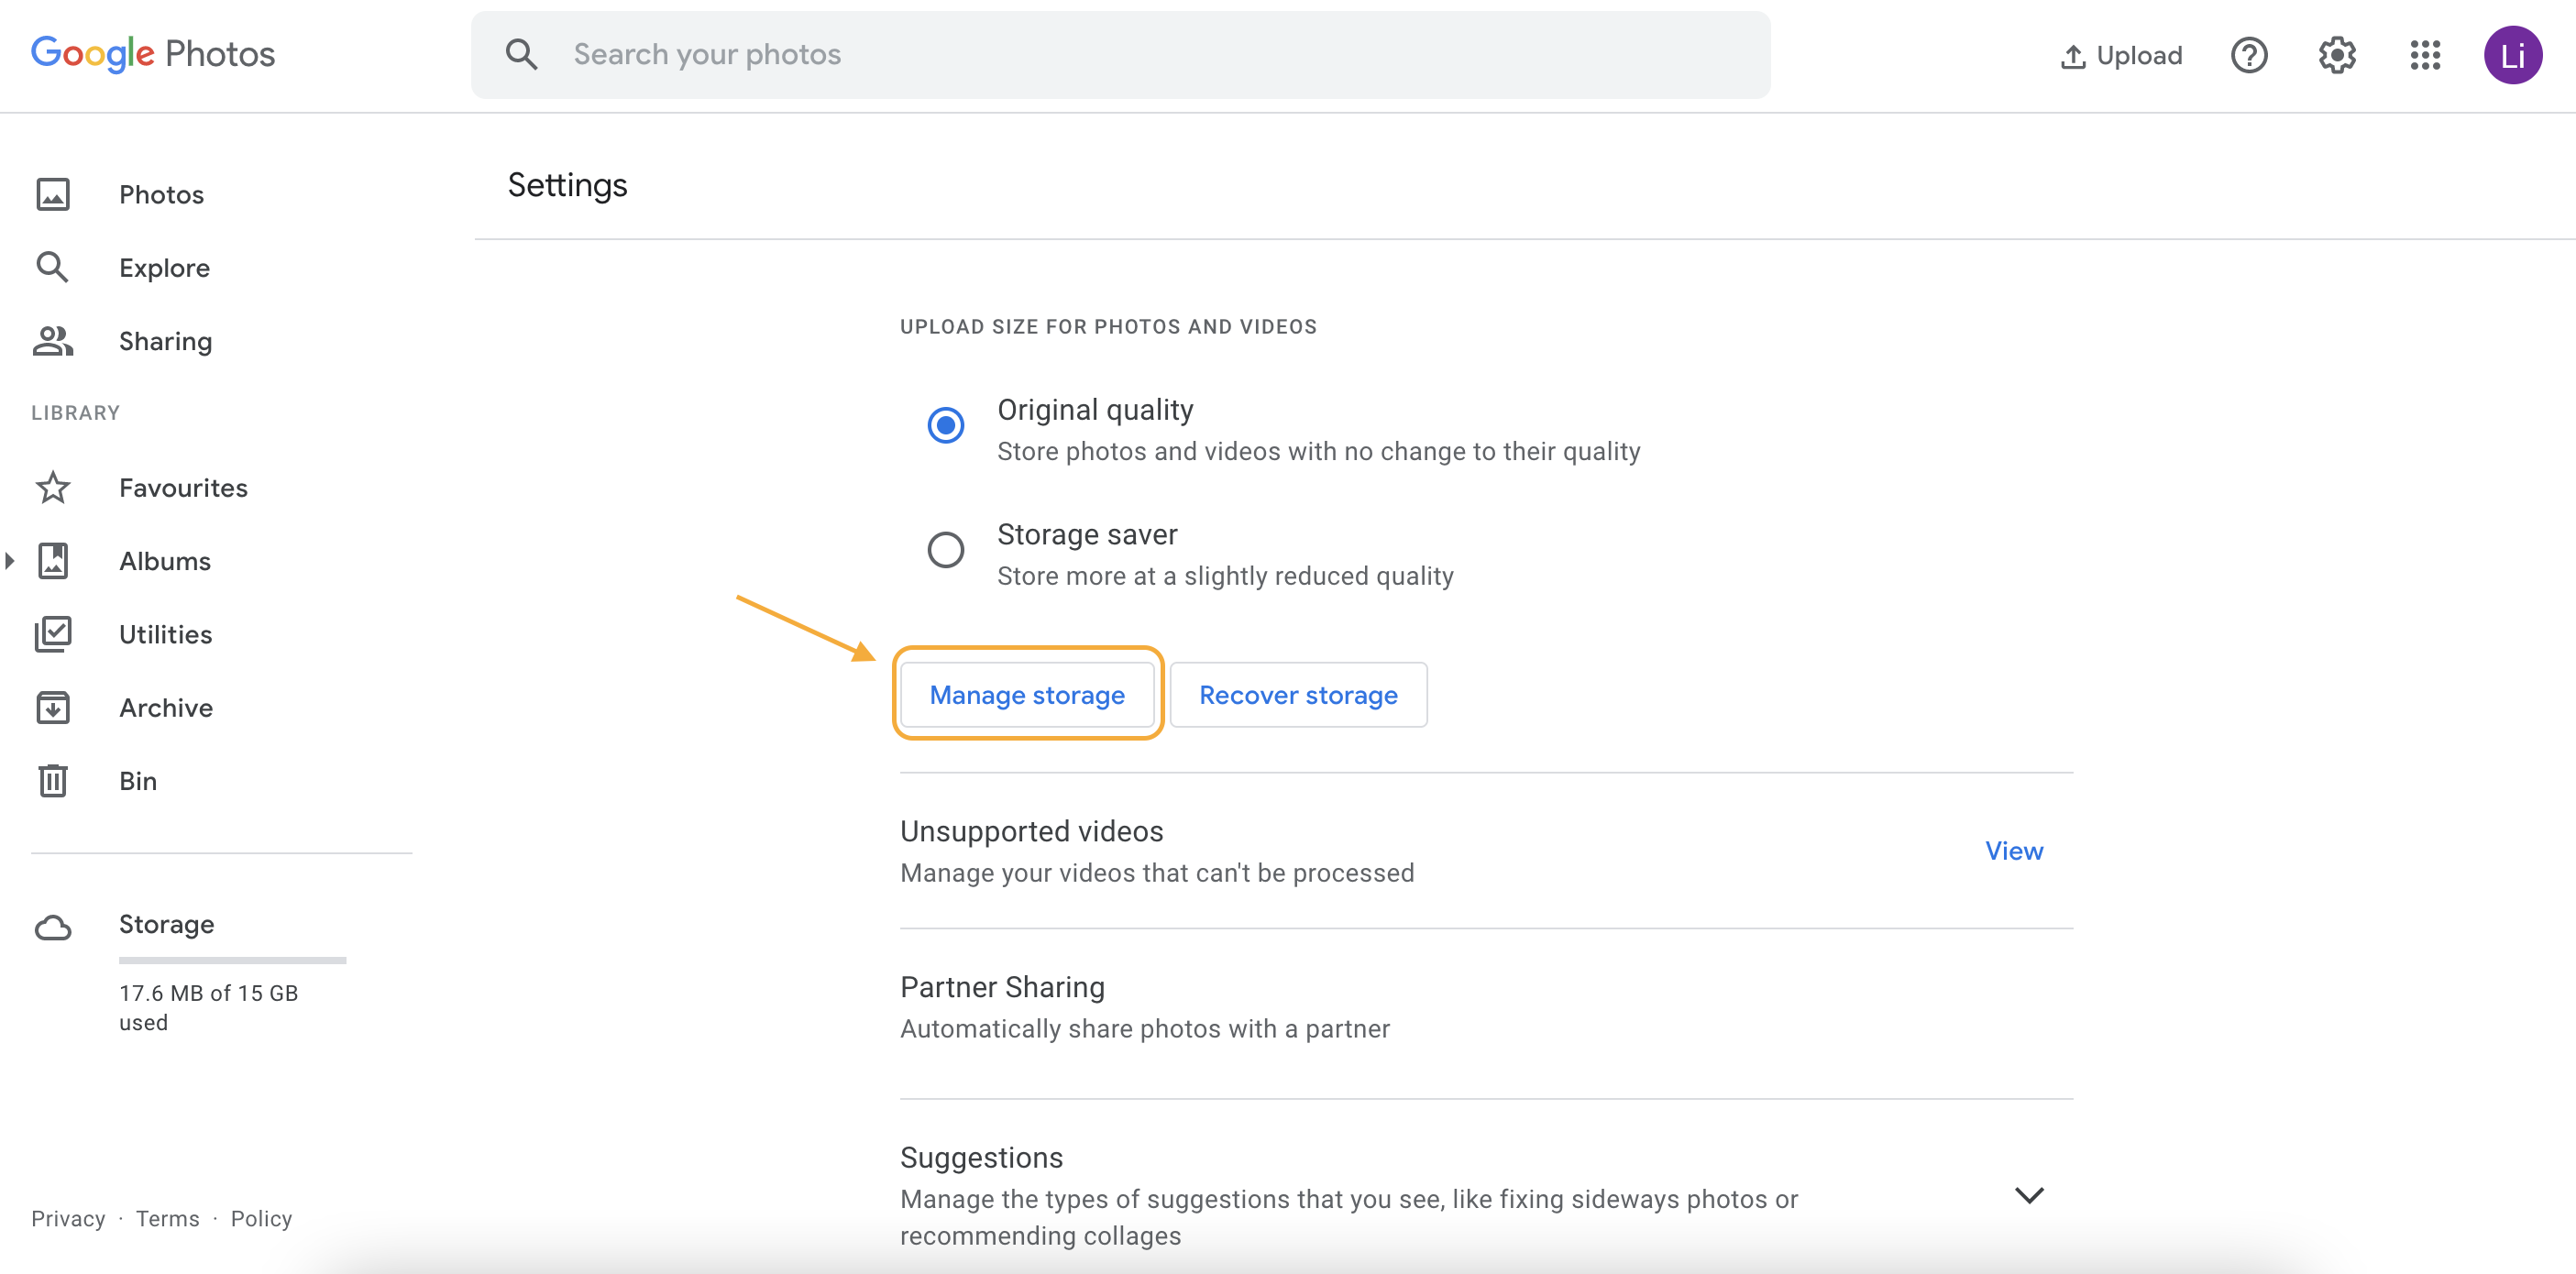
Then select ‘Manage storage’.
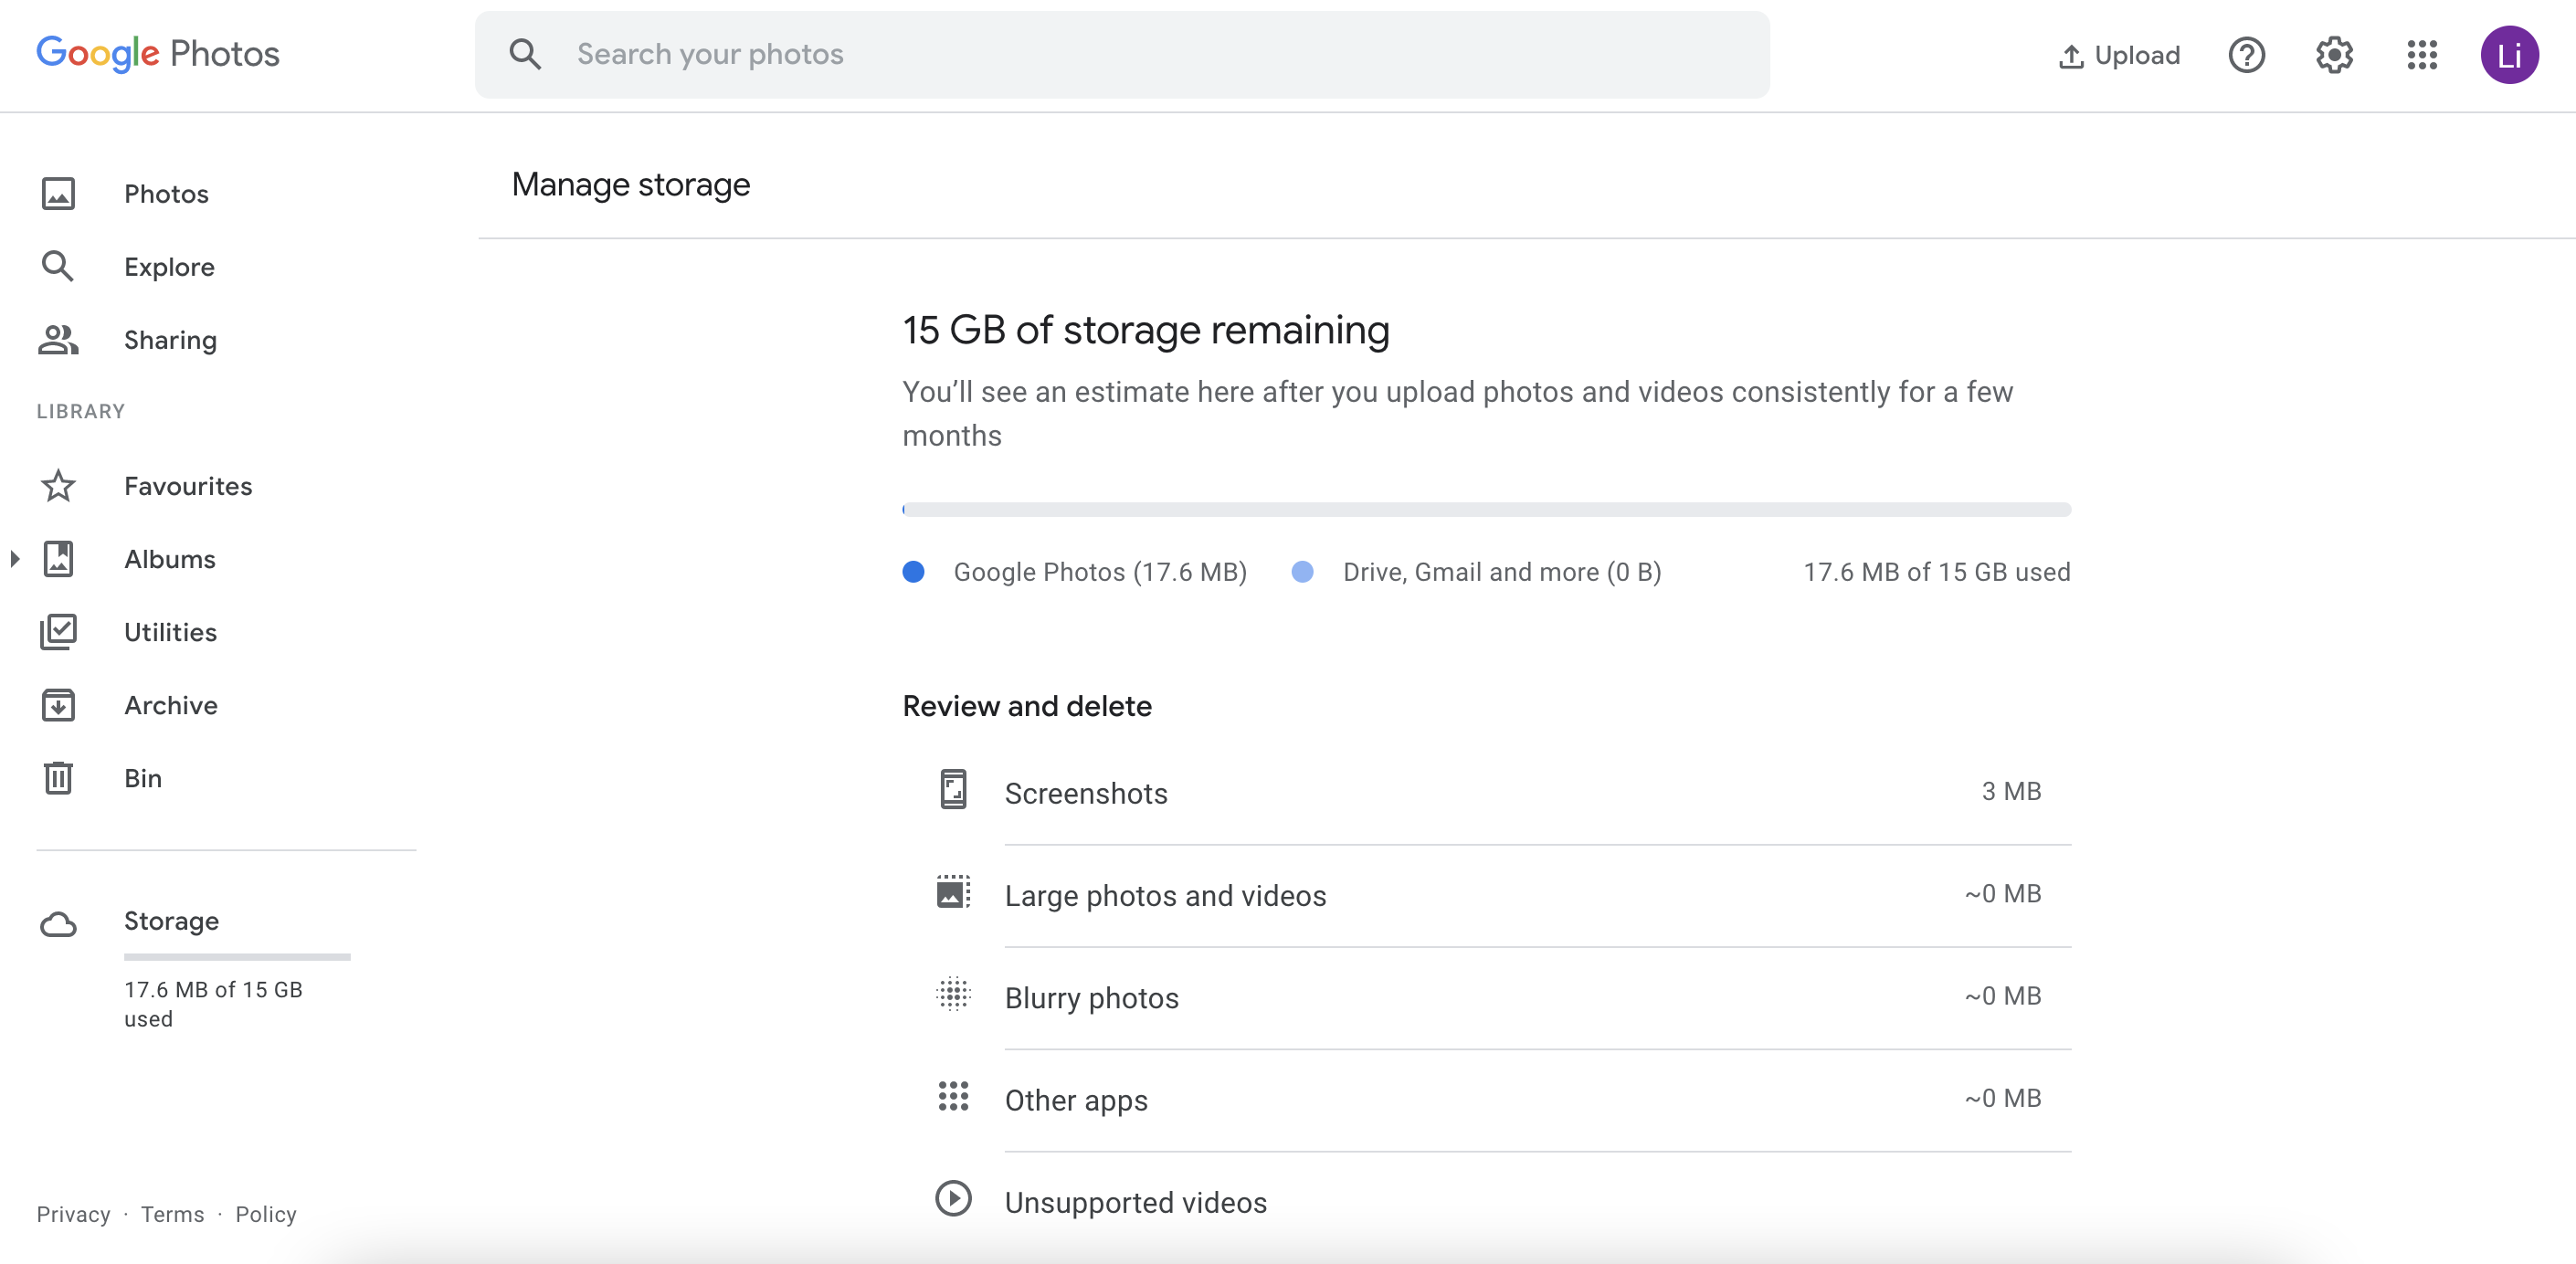
Now you can check your remaining storage space and remove photos in the ‘Review and delete’ section.
After you’ve downloaded the photos to your computer, you can use Cleaner One Pro to detect and remove redundant or similar photos, which can help you save a lot of storage space.
