It is quite possible that you have not heard of Log files before. Well, that is because most users will not need to delete or look for this type of files. Log files are mostly records of the errors or crashes occurred in apps, and sometimes you would not even notice these errors since they just happen in the background. You might want to report certain app errors to the developers, so these log files will come in handy. Deleting log files for certain apps such as Terminal will also speed up the app. This tutorial will show you how to find and delete log files.
Find and Delete Log Files Manually with Finder
Before you begin, make sure to back up your Mac before deleting user files.
1. Open Finder.
2. From the Menu bar, click Go – Go to Finder.
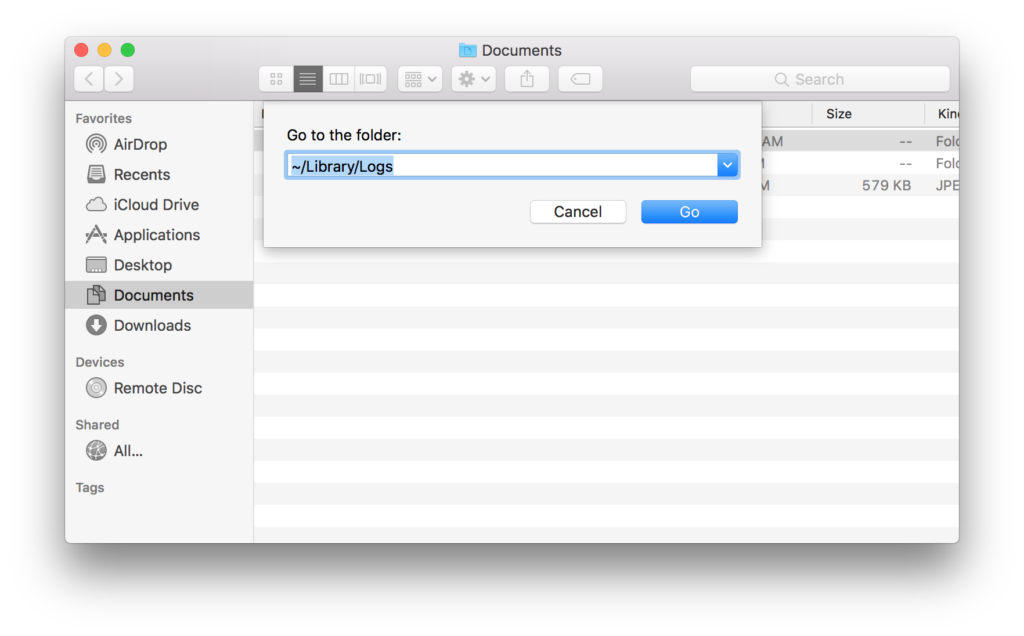
3. Type in ~/Library/Logs and click Go.

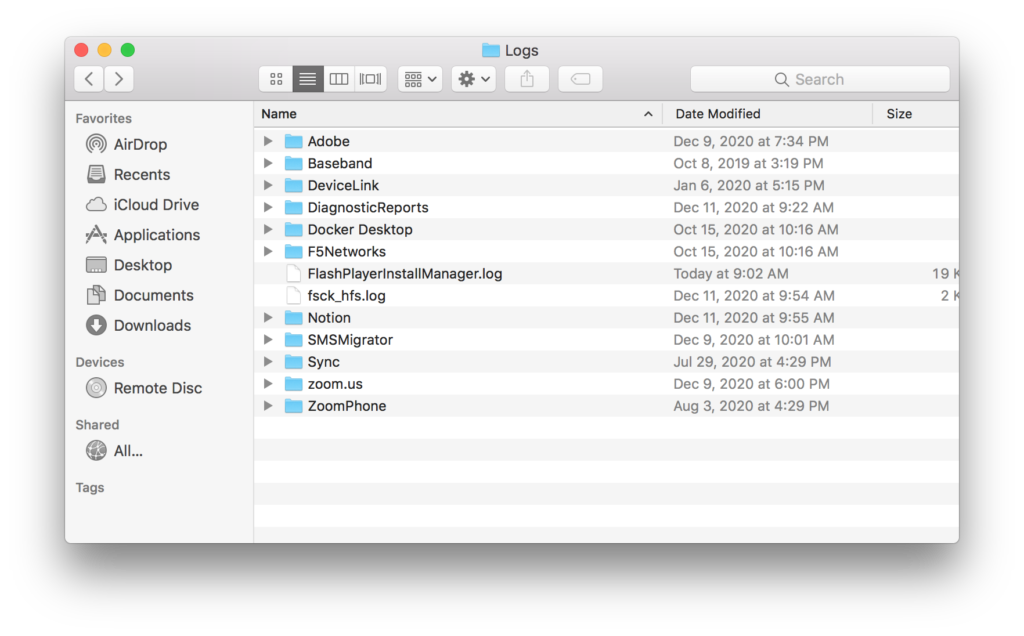
4. You will see a list of all the log files on your Mac. If you want to delete any file, make sure to delete the files within a folder instead of dragging the entire folder to the Trash. We also recommend making a copy of the log files and put it somewhere else on your Mac before emptying the trash; if anything goes wrong you can put them back.

5. After emptying the Trash, restart your Mac. If there isn’t any error after restarting, you can delete the copy of log files as well.
Find and Delete Log Files Automatically
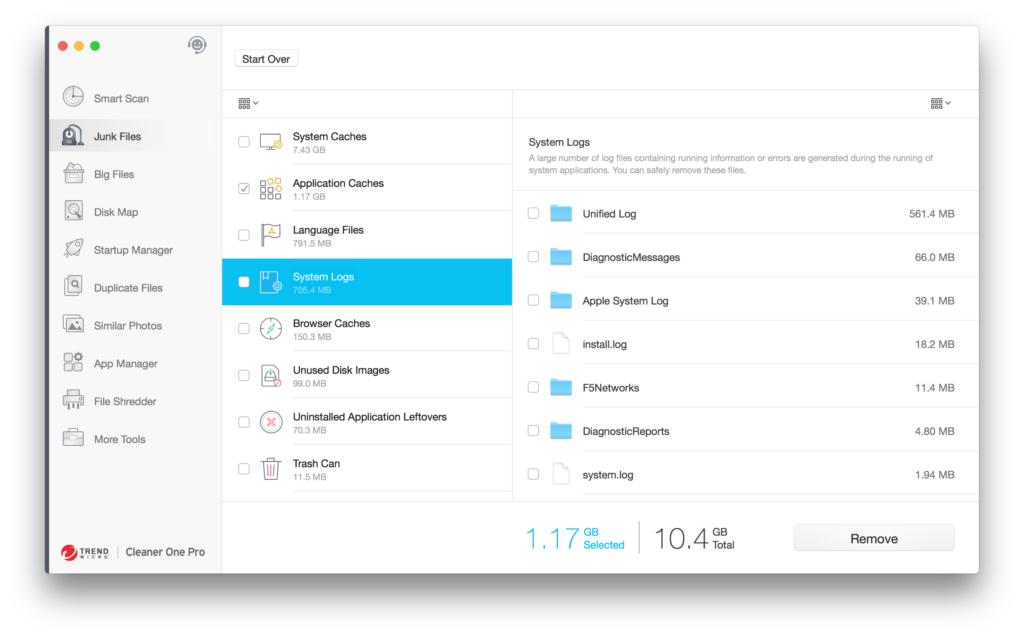
You can use a third-party app to clear all the log files easier than doing it manually. Cleaner One Pro is an all-in-one tool that can optimize your Mac’s performance.
1. Open Cleaner One Pro.
2. Go to Junk Files – System Logs.

3. Select the log files you want to remove, and then click Remove.
Cleaner One Pro also includes other powerful features such as Smart Scan, Junk Files and Similar Photos. It scans your computer and delete any unnecessary files. It also shows a real-time monitor for your CPU and Network usage on menu bar, so you know what is currently happening on your Mac. With Cleaner One Pro, you can have a faster Mac with just a few clicks.


