The Windows Registry stores vital data and settings for your computer, including system configurations, applications, and programs. While you usually don’t need to interact with it directly, the Registry can accumulate clutter over time or retain unnecessary data when you uninstall apps. Cleaning the Registry can help improve your system’s performance. This tutorial will guide you through the process of safely cleaning and optimizing your Registry on Windows 10 and Windows 11.
Back up the Registry
Again, as the Registry is related to system settings, you need to back up in case of any accident.
1. Click the Start button. Search and select regedit using the search bar.
- Go to File – Export… and type in the name for the backup.
- Select All.
- Click Save. Wait until the backup is finished.
Clean the Registry manually
- Boot your computer using Safe Mode with Networking. We have a tutorial here on how to do it.

- Click the Start button. Search and select regedit using the search bar.
- Click Yes when asked “Do you want to allow this app to make changes to your device.”
- From the list of folders on the left, go to HKEY_LOCAL_MACHINE – SOFTWARE.
- Right-click the folder of the programs that you have uninstalled or no longer need.

- Select Delete from the drop-down menu.
- Click Yes when asked “Are you sure you want to permanently delete this key and all of its subkeys.”
- Follow these steps for the folders of other programs you don’t need.
- Restart your PC.
Clean the Registry safely and automatically
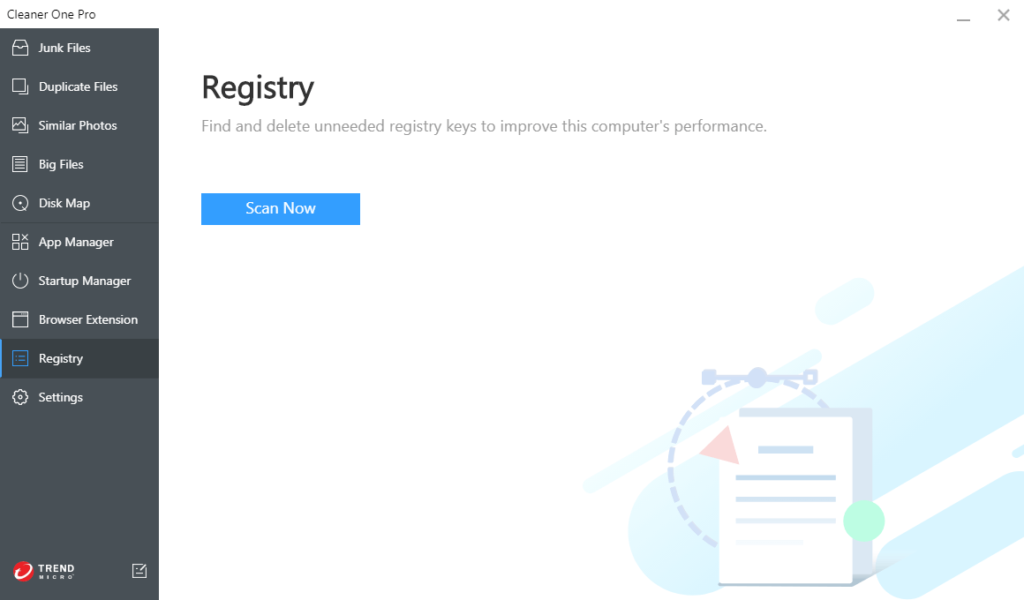
Although you can complete the steps above to clean the Registry manually, there is always a risk to potentially harm your computer. It is better to hand this task to the professional—you can use Cleaner One Pro to clean the Registry. This all-in-one disk cleaning manager will not only clean up the Registry safely and automatically, but will also find and delete junk files and big files. With a simple and easy-to-use interface, Cleaner One Pro will make sure your computer is up to speed and at its best performance.


