
Have you ever used Google Drive? What do you usually do when you want to uninstall an app? I believe many people don’t know how to completely uninstall Google Drive—-an app that backs up your data. Today I will give the guidance to all of you. Please be patient and you will know how to remove Google Drive and some of its components after reading this article.
First and also the most important
Although it is common a sense, I still need to say no matter which app you want to uninstall, you need to end all related processes first. Otherwise, you will get a warning information saying “The item cannot be moved to the Trash because it’s open”. As for Google Drive, you should disconnect your account and then quit it.
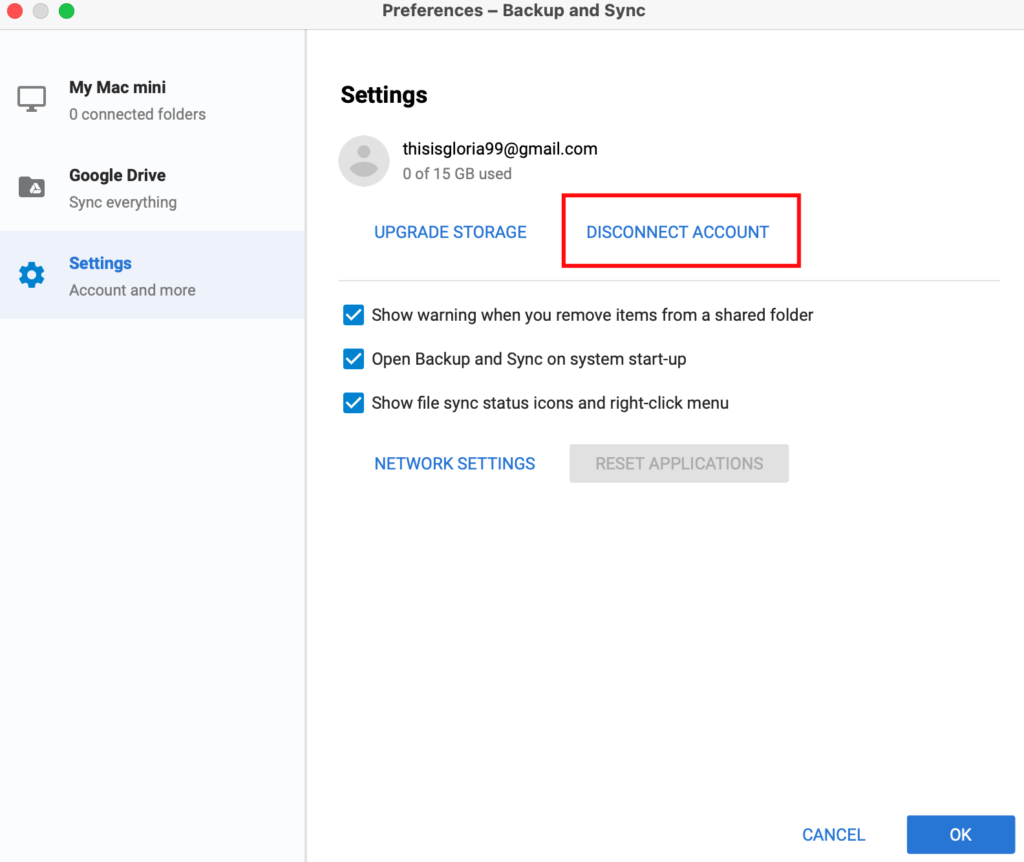
To disconnect your Google Drive account, you should go to Google Drive -> Preferences from the menu bar, then click “DISCONNECT ACCOUNT” in the preferences panel.
Note: Disconnect account will stop syncing completely and you can sign out of your google account later
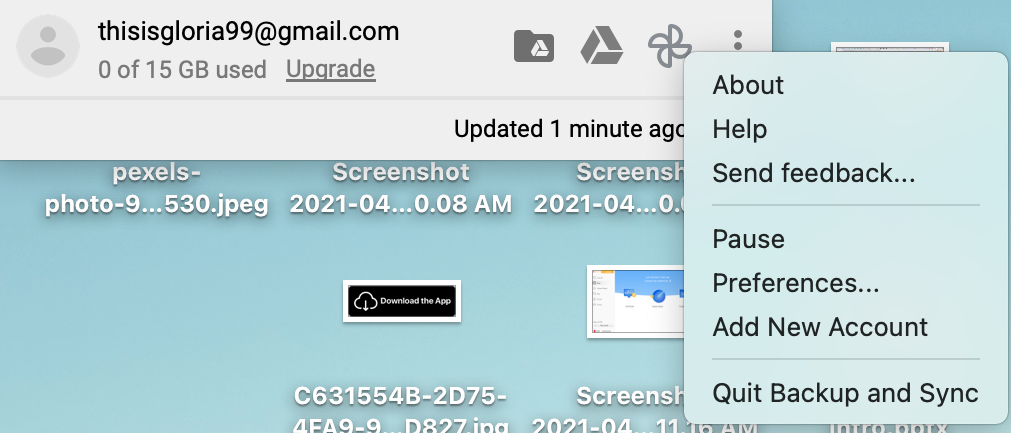
Then you should go to Google Drive->Quit Backup and Sync to quit Google Drive which is running in the background. Aside from this, you can use Activity Monitor to terminate all processes associated with Google Drive. Activity Monitor can force quit any processes once you have decided to terminate.
You can start the uninstallation now. You can drop Google Drive which is in Application folder to trash to get rid of it. Don’t hurry, there is a simply way I promise you will like since it only needs one-click.
The quickest way to uninstall Google Drive
Let’s begin removing Google Drive with a professional app named Cleaner One Pro. It is the best Mac Memory and Disk Space Cleaner in Mac App Store. With Cleaner One Pro, you can not only remove apps, but also delete duplicate files. In addition, cleaning junk files is its duty too. Cleaner One Pro is already compatible with the latest system—macOS High Sierra. What you need to do is to make a click. Here are the steps you need to follow:
- Download Cleaner One Pro, open and run it.
- Select “App Manager” feature and then click “scan” to start scanning applications on your Mac.
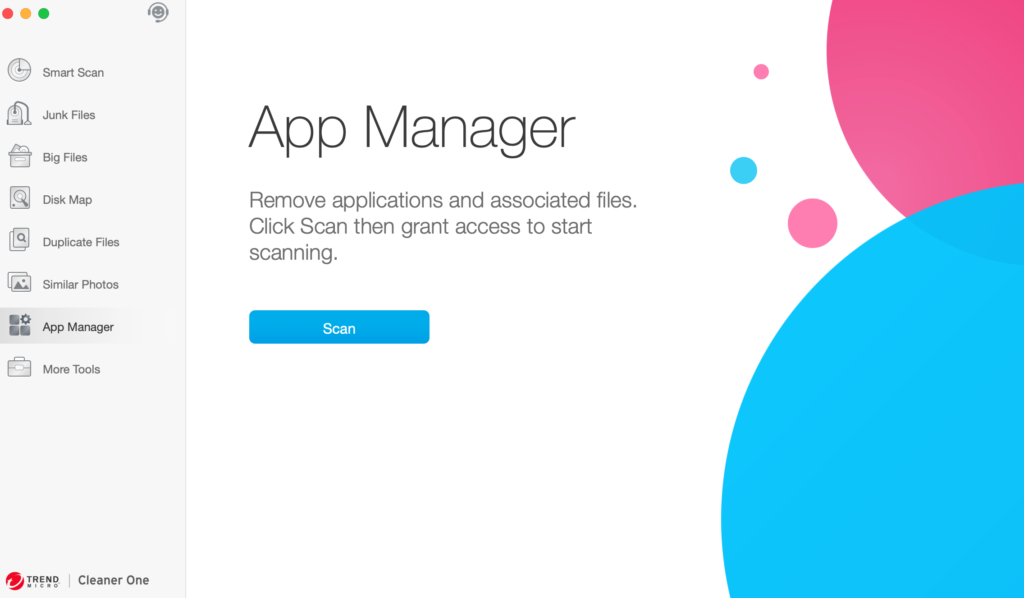
- Choose “Google Drive” and then click “Remove” to complete your uninstallation.
Are you waiting for it? It will take only a few seconds to get rid of all files associated with Google Drive. In some occasions, if your Google Drive has been corrupted, it is highly recommended that you reinstall it to cover your broken files first. Then you can make a clean uninstall with Cleaner One Pro.
How do you manually remove Google Drive from your Mac?
Some experienced users don’t like to remove Google Drive with any third-party apps. As long as you know the following tips, it will be also easy to uninstall Google Drive completely. Hold your breath and pay attention to the steps below to delete Google Drive.
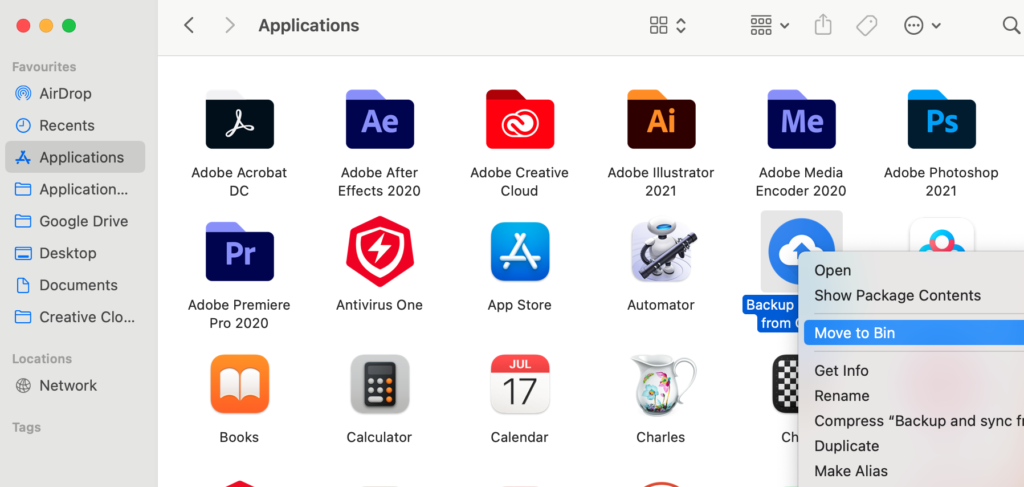
- Open your Finder and click “Applications” on your sidebar.
- Try to find Google Drive and then right click on it, select “Move to Trash” or drop it to trash in Dock directly. If there are any pop-ups, enter your Mac login password to accept this operation.
Another way: uninstall Google Drive from your Launchpad
If you have installed Google Drive through Mac App Store, you can try this way:
- Open Launchpad, and search Google Drive in the search box at the top.
- Hang your mouse on Google Drive until the symbol begins to wriggle and show X.Elective. You can hold down the ALT key until all applications start to shake.
- Click the X in the left best corner, and then click “Delete”.
Now Google Drive has disappeared from your /Applications folder but they are still in your trash. You need to empty the trash now by the steps below:
- Open your Finder and choose “Empty Trash” under the Finder menu or right click the trash icon in the Dock then select “Empty Trash”.
- If you cannot empty the trash, you need to reboot your Mac and try it again.
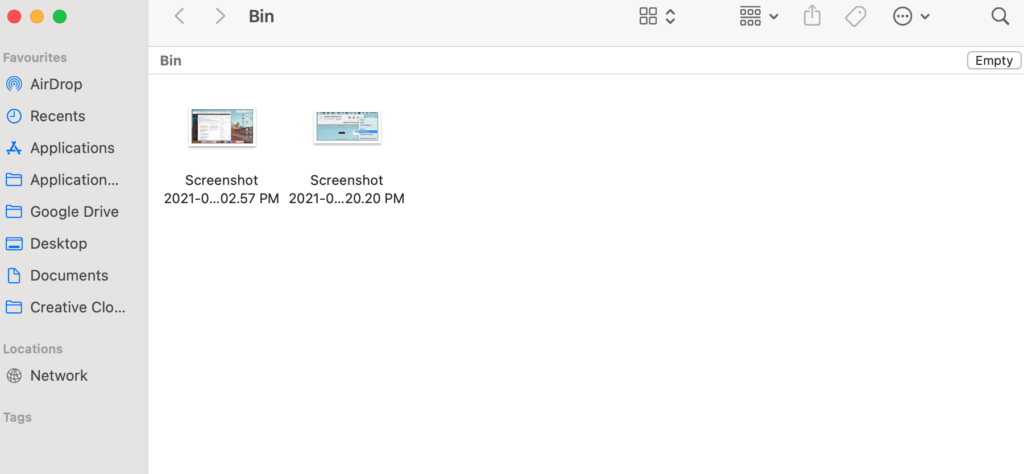
Note: The operation is a permanent action and it will erase all your files in the trash once you have decided to empty the trash. So please open your trash to make sure there are no useful files anymore.
Now you should begin deleting all files associated with Google Drive.
Tip: use search function to get rid of app leftovers
App leftovers is a common issue which annoyed many Mac users. To deeply clean Google Drive, you can manually search the remaining components in your system folders. Similar with Windows PC, you can search anything in the search bar with key words.
Please follow the steps below to delete the leftovers related with Google Drive:
- Launch your “Finder” to push the key “shift+command+G”, and then go to the folder “~/Library”.
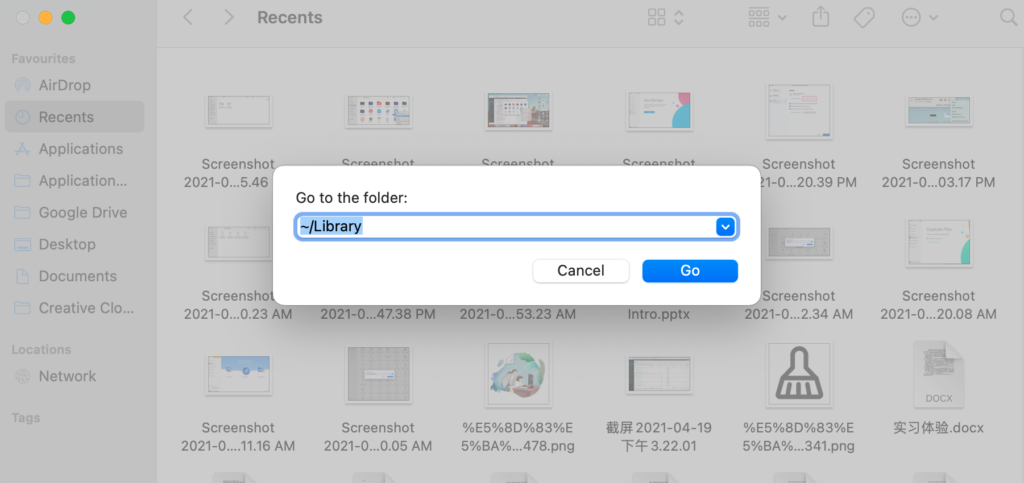
- Enter “Google Drive” in the search bar then click “Library” below the bar.
- Move matched files to trash by right clicking on them.
- Repeat the operations above to check if there are any other leftovers in Library folder.
- Empty the trash to make sure all associated files can be deleted.
In general, you can also search components about Google Drive in the following folders:
~/Library/Caches,
~/Library/Preferences,
~/Library/Application Support,
~/Library/Saved Applications State,
~/Library/LaunchAgents,
~/Library/LaunchDaemons,
~/Library/PreferencePanes,
~/Library/StartupItems
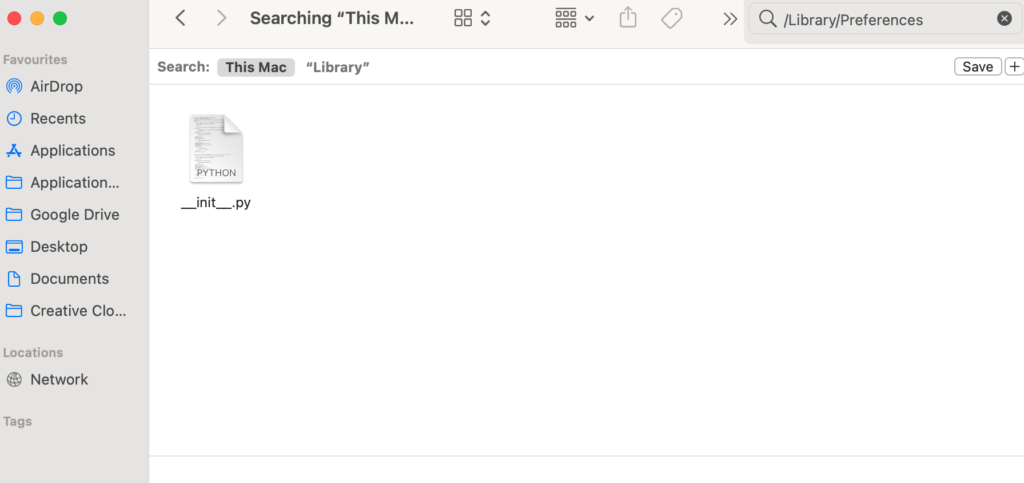
Note: Please be carefully when deleting these leftovers. You should only delete items related with Google Drive. Once any files belonging to other applications or system files have been deleted, you may not be able to use other applications and even macOS will be damaged.
Tired of these complicated operations? This manual method works for most third-party apps installed properly. However, if you haven’t done the operation successfully, you can turn to Cleaner One Pro for help.





how to uninstall google drive from mac pro
1.Log out your Account.
2.Quit the App.
3.Move the Google Drive to Trash.
4.Check the following folders for App Leftovers.
~/Library/Cookies/
~/Library/Preferences/
~/Library/Containers/
~/Library/Group Containers/
~/Library/Application Scripts/
You can also try the full version Cleaner One Pro and use the App manager to uninstall the App.